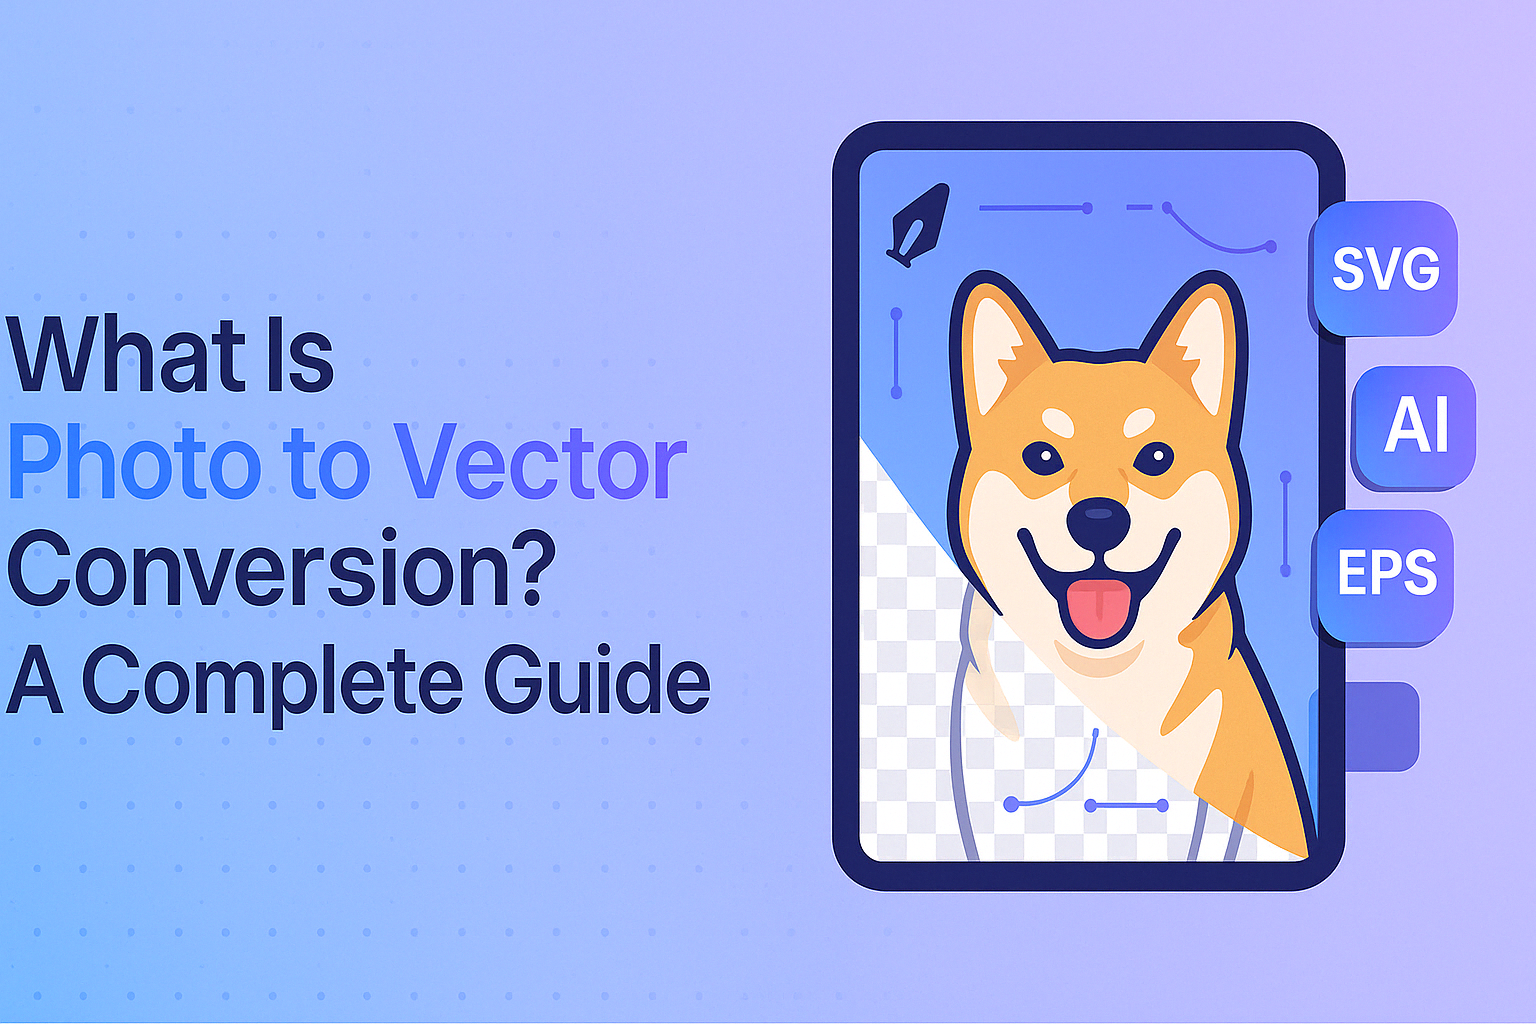
Converting a photo to a vector file opens the door to high-quality, scalable design. Whether you’re preparing artwork for print, creating logos, or editing images for commercial use, vector files are essential. Raster images like JPGs or PNGs often become pixelated when enlarged, but vector graphics remain perfectly sharp at any size.
In this complete guide, you’ll learn what photo to vector conversion is, why it matters, and how to convert images using both professional tools and free online vectorizers. No matter your skill level, this article walks you through everything you need to start converting raster images into clean, editable vector formats like SVG, EPS, and AI.
Table of Contents
How to Convert a Photo to Vector (Top 5 Methods)
Converting a photo to a vector involves transforming pixel-based images into scalable, editable vector graphics. In this section, we’ll cover the top 5 most effective methods—ranging from manual techniques using Illustrator to AI-powered tools—so you can choose the right approach for your project. Before you begin, make sure your image is optimized by following our Complete Checklist for Preparing Photos for Vectorization.
Hire a Professional Vector Conversion Service
One of the easiest and most reliable ways to convert a photo to a vector is by outsourcing the task to a professional vectorization service. These services typically use a mix of manual tracing and design tools to deliver high-quality, scalable vector files that are ready for commercial use.
Best for:
- Designers on a deadline
- Businesses needing consistent branding
- Non-designers who want professional results without learning software
How It Works:
- Upload your raster photo (JPG, PNG, BMP, etc.)
- A graphic designer traces or vectorizes the image manually
- You receive a final vector file (SVG, EPS, AI, or PDF) via email or download
Benefits:
- Accurate shape tracing and color matching
- Clean, print-ready output
- Saves time compared to DIY tools
Example Providers:
- Local design agencies
- Freelancers on platforms like Fiverr or Upwork
- Specialized vector services like PhotoToVector.com
Outsourcing your photo-to-vector conversion is ideal if you need professional-grade results without diving into software like Illustrator.
How Can I Convert a Photo to Vector by Hiring a Professional Service?
If you’re looking for the easiest and most accurate way to convert a photo into a vector file, hiring a professional vector conversion service is a great choice. These services use expert manual tracing methods or hybrid tools to deliver clean, scalable files suitable for print, logos, and more.
Who is this method best for?
- Individuals with no graphic design experience
- Businesses needing high-quality, consistent vector assets
- Designers who want to save time or outsource repetitive tasks
How does it work?
- Upload your raster image (e.g., JPG, PNG, BMP) to the service provider’s platform.
- A professional designer manually traces and converts the image into vector paths.
The final output is provided in vector file formats like SVG, EPS, PDF, or AI.
Where can you find professional vectorization services?
- Specialized vector converter like us
- Freelancers on Fiverr, Upwork, or Freelancer.com
- Local design studios or print shops
- This method ensures a high-quality, print-ready vector file without the learning curve of design software.
Advantages of using a professional service:
- Saves time compared to doing it manually
- Superior accuracy and detail, especially for complex designs
- Compatible with all printing and design software
How Do I Manually Convert a Photo to Vector Using Illustrator or Inkscape?
Manual vector conversion gives you full control over the shapes, lines, and colors in your image—making it the most precise method for converting a photo into a professional-grade vector file. Tools like Adobe Illustrator, CorelDRAW, or the free and open-source Inkscape are commonly used for this purpose.
When should you use manual photo to vector conversion?
- When you need exact tracing of detailed logos, artwork, or illustrations
- For clean, editable layers in print, embroidery, or CAD designs
- When auto-tracing tools don’t deliver accurate results
How to manually vectorize a photo in Illustrator or Inkscape?
- Open your image in the design software (Illustrator, CorelDRAW, or Inkscape).
- Create a new layer above the image to keep your vector work separate.
- Use the Pen Tool or Bezier Tool to trace outlines and shapes.
- Fill each path with corresponding colors using the color picker or swatches.
- Once tracing is complete, hide or delete the original photo layer.
- Export the file as SVG, EPS, or AI depending on your usage needs.
Advantages of manual vector conversion:
- Clean lines and shapes tailored to your design goals
- Editable components for future revisions
- Ideal for sharp, professional-quality output
While this method requires more time and skill, it offers the most accurate and customizable vector result—especially useful for logos, technical drawings, or stylized artwork.
What Is Photo to Vector Conversion in PDF Format?
Photo to vector conversion in PDF format refers to transforming raster-based PDFs or embedded images within PDFs into scalable vector files like SVG or EPS. Since PDFs can contain both vector and raster elements, this method is often used to extract or convert those components into editable vector graphics.
When is PDF vector conversion useful?
- When a client provides artwork in a flattened or scanned PDF
- When editing logos, graphics, or illustrations saved as PDF
- For converting text-heavy layouts into scalable formats
How to convert a photo to vector using a PDF?
- Export the final version as SVG, EPS, or AI for vector use.
- Open the PDF in vector-friendly software like Adobe Illustrator.
- Use the Selection Tool to highlight text, shapes, or image areas you want to convert.
- For text, go to Type > Create Outlines to convert it into vector paths.
- Adjust or trace any raster portions using the Pen Tool or Image Trace.
Why convert photos or artwork from PDF to vector?
- Maintains quality for large-format printing
- Makes design elements editable and scalable
- Allows reuse of layout components without pixelation
PDF vector conversion is a versatile solution for reworking client-supplied files or restoring logos and artwork originally embedded in PDF format.
How Do You Use Adobe Illustrator’s Image Trace Feature to Convert a Photo to Vector?
Adobe Illustrator’s Image Trace tool offers a quick and effective way to convert raster photos into vector graphics. It automatically detects shapes, colors, and edges in an image, generating scalable paths that you can edit and export in vector formats like SVG or EPS.
Who is this method best for?
- Anyone working with basic illustrations, logos, or artwork
- Designers who want a fast, semi-automated way to vectorize an image
- Beginners needing a visual conversion without manual pen tracing
How to convert a photo to vector using Image Trace in Illustrator?
- Open the image in Adobe Illustrator.
- Select the image, then go to Window > Image Trace to open the panel.
- Choose a preset based on your needs (e.g., High Fidelity Photo, Black and White Logo, 3 Colors).
- Fine-tune the settings:
- Paths: Adjust path accuracy
- Corners: Set corner sharpness
- Noise: Ignore small details or artifacts
- Once you’re satisfied, click Expand under the Object menu to convert the trace into editable vector paths.
- Export the file as SVG, EPS, or AI depending on your intended use.
Can You Convert a Photo to Vector in Photoshop?
While Adobe Photoshop is primarily designed for raster image editing, it does allow for basic photo to vector conversion through its export capabilities. Although Photoshop doesn’t offer precise vector tracing like Illustrator, you can still convert simple shapes and clean artwork into SVG vector files.
When is Photoshop vector conversion useful?
- When you’re working with simple black-and-white logos or icons
- For basic shapes and paths extracted from a raster image
When you need a quick SVG export without switching to Illustrator
How to convert a photo to vector in Photoshop?
- Open your photo in Adobe Photoshop.
- If needed, use selection tools like the Magic Wand or Quick Selection Tool to isolate parts of the image.
- Convert the selection to a path using Window > Paths > Make Work Path.
- Go to File > Export > Export As.
- Choose SVG as the format and click Export.
Limitations:
- Less control over detailed tracing compared to Illustrator
- Not ideal for multi-colored or complex images
- Works best for silhouette-style graphics or line art
Photoshop vector conversion is a basic solution for turning simple artwork into scalable SVG files, but for professional-grade vectorization, Illustrator or Inkscape is more appropriate.
How Can You Convert a Photo to Vector Online for Free?
If you’re looking for a quick, no-software-required solution, there are several free online tools that allow you to convert photos to vector formats like SVG, EPS, or PDF. These are perfect for beginners, hobbyists, or anyone who needs a fast, accessible way to vectorize images without installing graphic design software.
When is online vector conversion the best option?
- For quick one-off vector tasks
- If you’re working on a limited budget
- When you don’t have access to Illustrator or CorelDRAW
Below are five popular and free photo-to-vector conversion tools, including pros and cons for each:
1. UniConverter by Wondershare
A web-based tool that supports raster-to-vector conversion in formats like SVG and EPS.
Offers basic editing, color selection, and batch processing.
Pros:
- Supports both raster and vector formats
- Beginner-friendly interface
- Allows batch conversion
Cons:
- File size limit: 5000x5000px or 6MB
- Internet connection required
2. Autotracer
Converts JPG, PNG, and GIF into vector files (EPS, SVG, PDF) with no registration needed.
Pros:
- Clean, simple interface
- No installation or sign-up required
- Preserves white background and smooths edges
Cons:
- Internet-dependent
- Same size limit as UniConverter (6MB max)
3. Vector Magic
Known for high-quality vectorization and custom manual controls.
Offers both automatic and advanced settings.
Pros:
- Dual modes: automatic and manual
- Supports file editing post-conversion
- High accuracy
Cons:
- Manual settings can be tricky for beginners
- Slight learning curve for optimal results
4. Vectorizer
Converts PNG, JPG, and BMP images and allows 3 file uploads per hour.
Pros:
- Live input/output preview
- Control over shapes, color, and blur area
Cons:
- Dependent on stable internet
- Hourly upload/download limits
5. Convertio
Cloud-based converter supporting file upload from device, URL, Dropbox, or Google Drive.
Pros:
- Integrates with cloud storage
- Fast conversion with multiple format options
Cons:
- File size capped at 100MB
- Lacks advanced customization controls
Free online photo-to-vector converters are ideal for quick tasks, basic logo creation, or first-time users learning how vectorization works—though they may lack the fine-tuned controls available in desktop design tools.
Manual vs. Online Vector Conversion – Which One Should You Use?
When deciding between manual vector conversion and online tools, it comes down to your goals, image complexity, and level of control required. Both methods can convert raster photos to vector graphics—but the results vary significantly depending on the method and use case.
When should you choose manual vector conversion?
- When working on logos, illustrations, or detailed artwork that requires clean edges and precision.
- If you need to edit individual shapes, colors, and paths after conversion.
- For commercial printing, embroidery, or brand visuals where quality matters.
Benefits of manual vector conversion:
- Best for complex or professional projects
- High accuracy and customizability
- Editable paths and layers
Learn the top 10 benefits of professional photo to vector conversion services here.
When is online vector conversion a better choice?
- For simple images or icons with limited colors and shapes.
- If you need a fast, no-cost solution for basic scalability.
- When you lack access to Illustrator, CorelDRAW, or Inkscape.
Benefits of online tools:
- Ideal for beginners or casual use
- No software installation required
- Quick and user-friendly interface
Manual vs. Online Vector Conversion Comparison Table
| Feature | Manual Conversion | Online Tools |
|---|---|---|
| Best For | Precision & editing | Speed & simplicity |
| Skill Level Needed | Intermediate to Pro | Beginner-friendly |
| Output Quality | High (editable) | Moderate (limited edits) |
| Supports Complex Designs | Yes | Limited |
| Requires Software? | Yes | No |
| Offline Use | Yes | Internet-dependent |
Here is our detailed guide on manual vs automated vectorization and when to use each method. You can also learn which one is perfect for you from this guide.
What Are the Most Common Uses for Vectorized Photos?
Vectorized photos are essential in many creative, commercial, and industrial applications where scalability, precision, and print quality matter. Whether you’re preparing designs for digital or physical output, converting images to vector format unlocks flexibility and ensures professional results. Here is a detailed guide on top industries that benefits from photo to vector conversion the most.
Here are the most common use cases for photo to vector conversion:
- Logo Design
Vector logos can be scaled to any size—from business cards to billboards—without pixelation. They also support spot colors for screen printing and embroidery. - T-shirt and Merchandise Printing
Many print-on-demand services and silkscreen printers require files in vector format (SVG, AI, or EPS) for clean, separable layers and color accuracy. - Billboard and Signage Design
High-resolution printing demands vector artwork that remains sharp even at extremely large dimensions. - Engraving, CNC, and Laser Cutting
Machines used for cutting, engraving, and routing require vector paths to operate accurately. - Embroidery Digitizing
Embroidery software uses vector outlines to interpret stitch paths for logos and garment designs. - Web and App Graphics
SVG vector graphics load quickly, scale responsively, and are ideal for responsive UI/UX design. - Map and Blueprint Illustration
Complex maps, architectural blueprints, and floor plans are commonly drawn as vector files for clarity and precision.
What Are the Best Tips for Successful Photo to Vector Conversion?
Converting a photo into a vector isn’t just about clicking a button—it’s about understanding how to get the cleanest, most accurate, and usable vector result for your needs. Whether you’re using Illustrator, Inkscape, or an online tool, these tips can help you achieve better outcomes.
- Use a high-resolution image – Start with a sharp, clean photo for better results.
- Simplify before tracing – Reduce noise and increase contrast to improve shape detection.
- Choose the right export format – Use SVG, EPS, AI, or PDF based on your end use.
- Refine your paths – Clean up anchor points and curves after auto-tracing.
- Maintain layers and transparency – Especially important for print and web graphics.
- Match your output needs – Consider format, resolution, and color mode (CMYK/RGB).
- Test before delivery – Zoom in, double-check accuracy, and test compatibility.
Vector files are not just scalable—they’re editable, lightweight, and compatible with a wide range of industries and technologies. That’s why learning how to convert a photo to a vector is a vital skill for designers, marketers, engineers, and print professionals alike.
Photo to Vector Conversion FAQ’s
Why convert an image to vector format?
Converting an image to a vector format ensures that it can be resized to any dimension without losing clarity. This is essential for logos, signage, apparel printing, and other professional applications where crisp, scalable graphics are required. Vector formats like SVG, EPS, or AI are also easier to edit and support layering, color separation, and precision paths.
What is the best format to save a vector image?
The best format depends on your use case:
SVG is ideal for web and digital platforms due to its scalability and small file size.
EPS and AI are preferred in print and professional design workflows.
PDF is versatile and widely supported across printing and sharing platforms.
Can you vectorize a JPG or PNG image?
Yes, you can convert raster formats like JPG and PNG into vector files using software such as Adobe Illustrator, CorelDRAW, or free online tools. However, the results depend on image quality and complexity. Clean, high-contrast images yield better vector results than photos with heavy gradients or noise.
What is the difference between raster and vector images?
Raster images (like JPG, PNG, and BMP) are made up of pixels, which can become blurry when scaled. Vector images (like SVG, AI, or EPS) are composed of mathematical paths and shapes, allowing them to scale indefinitely without loss of quality. Raster is best for detailed photos; vector is best for illustrations, logos, and technical graphics.
Can I convert a scanned image or hand-drawn sketch into a vector?
Yes. Scanned artwork or hand-drawn sketches can be converted into vector format by manually tracing in Illustrator or using auto-trace tools. Cleaning up the image first—adjusting contrast or threshold can help the software detect lines more accurately during the vectorization process.