Converting photos into vector graphics allows for endless creative flexibility and scalable design without losing image quality. Whether you’re creating logos, T-shirt artwork, or digital illustrations, Adobe Illustrator remains one of the best tools for vector conversion.
In this 2025 Illustrator guide, you’ll learn how to transform any raster image—like a JPG or PNG—into a fully editable, resolution-independent vector graphic. Follow these step-by-step instructions to achieve clean, professional vector results using Illustrator’s built-in Image Trace feature.
Table of Contents
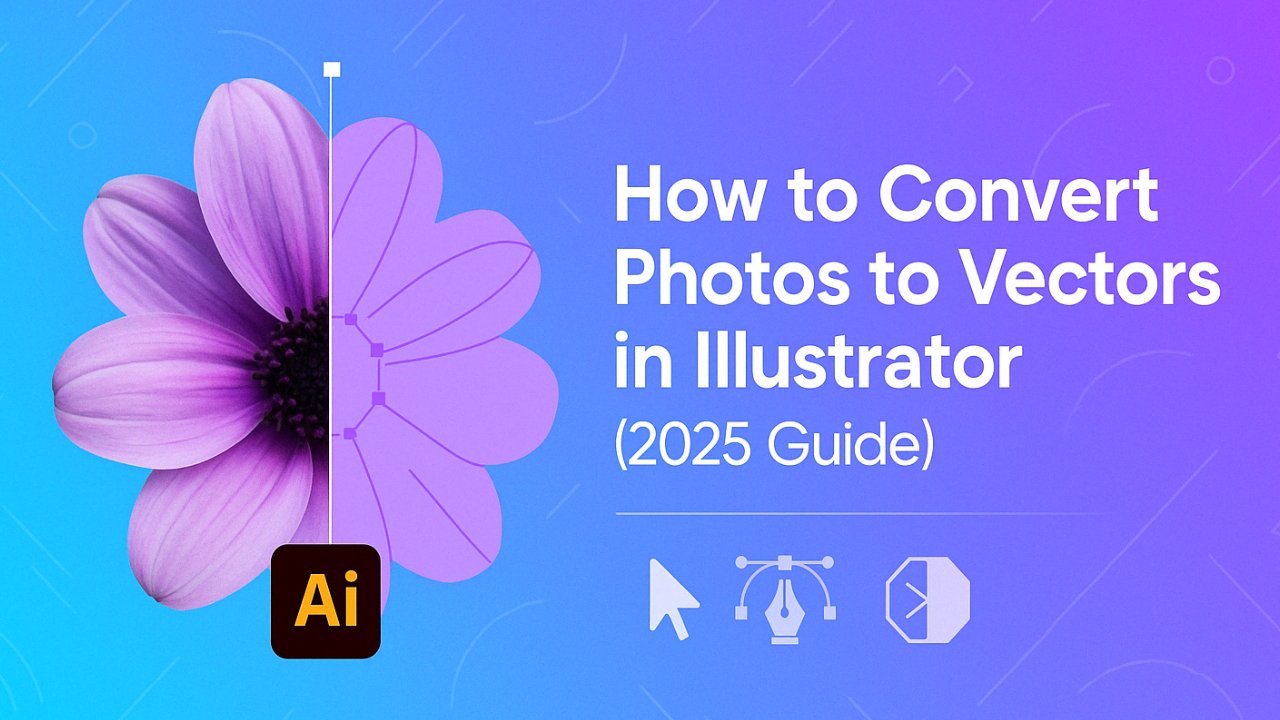
How to Convert Photos to Vectors with Illustrator? Step By Step
Step 1: Open Your Photo in Adobe Illustrator
- Launch Adobe Illustrator and create a new file.
- Choose dimensions for your artboard that suit your image.
- Go to File > Place and select your photo to add it to the artboard.
- You can resize or reposition the image as needed before tracing.
Step 2: Open the Image Trace Panel
- Navigate to Window > Image Trace to open the Image Trace panel.
- With your photo selected, the panel will activate and show default settings.
- This is where you’ll choose how Illustrator converts your photo into paths and shapes.
Step 3: Enable the Preview Option
- In the bottom-left corner of the Image Trace panel, check the Preview box.
- This will give you a live visual of how your vector output will look.
- Use this preview to experiment with settings before finalizing the trace.
Step 4: Choose a Preset Style (Optional)
Illustrator includes several preset tracing modes that can help you quickly achieve a specific look:
- High Fidelity Photo – Preserves rich color detail; best for realistic photos.
- Low Fidelity Photo – Creates simplified vector art with fewer colors and shapes.
- 3 Colors / 6 Colors / 16 Colors – Great for flat illustrations or poster-style graphics.
- Auto Color – Uses Illustrator’s algorithm to choose a matching color palette.
- Grayscale – Converts your image into black, white, and gray shades.
- Black and White – Produces a stark silhouette, ideal for logos or stencils.
- Line Art / Sketch Art / Technical Drawing – Simplifies images to outlines for blueprint-style rendering or hand-drawn looks.
Step 5: Fine-Tune the Image Trace Settings
If you want more control over how Illustrator traces the image, adjust these settings:
- Mode: Choose between Color, Grayscale, or Black and White.
- Palette: Pick from Automatic, Limited, Full Tone, or even custom document libraries.
- Threshold: In Black and White mode, this slider determines which tones are interpreted as black or white.
Advanced Settings:
- Paths: Higher values increase detail; lower values simplify shapes.
- Corners: Set to high for sharper angles, or low for rounded curves.
- Noise: Removes small artifacts—higher values simplify and clean up the image.
- Simplify: Check this box to reduce anchor points and make your vector easier to edit.
Use the Preview checkbox to see changes in real time as you adjust sliders.
Step 6: Trace the Image
Once you’re satisfied with the settings:
- Click the Trace button at the bottom-right corner of the Image Trace panel.
- Illustrator will now process the image and generate the vector artwork.
- Depending on your image size and complexity, tracing may take a few seconds.
At this point, your image has been visually vectorized—but it hasn’t been converted to editable vector paths yet. That comes next.
Step 7: Expand the Vector Artwork
The tracing process creates a preview of your vector, but to make it fully editable:
- With the traced image still selected, go to Object > Expand.
- In the dialog box, make sure both Object and Fill are checked, then click OK.
- Illustrator will now convert the image into individual vector paths and anchor points.
You’ll see blue outlines around each shape, indicating that your image is now a fully vectorized composition. You can inspect individual elements in the Layers panel.
Step 8: Ungroup and Edit the Vector (Optional)
If you want to make adjustments to specific parts of your vector:
- Right-click the image and choose Ungroup.
- This will separate the shapes into individual editable paths.
- You can now:
- Reposition elements
- Change colors
- Delete or combine shapes
- Use the Direct Selection Tool (A) to adjust anchor points
This step is optional, but great if you want to customize your vector output or isolate specific parts of the image.
Step 9: Export the Vector File
Now that your image is fully vectorized:
- Go to File > Save As or File > Export > Export As.
- Choose your desired vector format:
- SVG – Best for web or digital use
- PDF – Great for print or sharing
- EPS – Ideal for print workflows
- AI – Preserves all editability within Illustrator
- Select your file location, name it, and click Save.
If you’re exporting for web use, SVG is lightweight and scalable. For commercial print, PDF or EPS is recommended.
How to Convert Photos to Vectors with Illustrator Online for Free?
While Adobe Illustrator is one of the most powerful tools for vector conversion, it’s part of the Adobe Creative Cloud suite and requires a paid subscription. If you’re looking for free or online alternatives to convert your photo to a vector format, you can use web-based vectorization tools that mimic Illustrator’s core functionality.
Free Online Alternatives:
- Vectorizer.io – Upload your image and convert it into SVG or PDF formats automatically. Offers multiple tracing styles and color simplification.
- Photopea.com – A browser-based design tool with limited vector support; good for simple outline creation.
- Inkscape (Free Download) – Not online but 100% free. Offers a powerful alternative to Illustrator for manual vector tracing.
- Autotracer.org – Quick and simple raster-to-vector conversion without registration.
These tools are suitable for basic vector conversion tasks but may lack the precision, control, and editability of Illustrator. For high-quality commercial or design use, Illustrator is still the recommended standard.
Adobe Illustrator vs Free Tools Comparison Table
Add a simple table that compares Adobe Illustrator to free/online tools. This helps readers make an informed decision.
| Feature | Adobe Illustrator | Vectorizer.io | Inkscape |
| Accuracy | ★★★★★ | ★★★☆☆ | ★★★★☆ |
| Customization | ★★★★★ | ★★☆☆☆ | ★★★★☆ |
| Output Formats | AI, EPS, SVG, PDF | SVG, PDF | SVG, EPS |
| Learning Curve | Moderate–Advanced | Beginner | Moderate |
| Ideal For | Professionals | Quick use | Freelancers |
What are the Pro Tips for Better Photo-to-Vector Results?
Here are some best tips for better photo to vector conversion results:
- Start with high-resolution images: The better your source image, the cleaner your vector output will be.
- Use strong contrast: If you’re vectorizing a sketch or line drawing, increase contrast in Photoshop or a photo editor before importing it into Illustrator.
- Limit color complexity: For simple vector projects like icons or stickers, try using a limited color preset (like 3 or 6 colors) to reduce file size and edit effort.
- Reduce anchor points: After expanding your vector, use the “Simplify” option to reduce unnecessary points and optimize for speed and scalability.
Test your export: Open your exported SVG or PDF in another design app (like Figma or Canva) to make sure it behaves as expected.
Conclusion: Mastering Photo-to-Vector Conversion in Illustrator
Turning a photo into a clean, scalable vector may sound complex, but with Illustrator’s Image Trace tool and a few simple settings, it becomes a streamlined process. Whether you’re preparing graphics for T-shirts, logos, illustrations, or digital assets, vectorization opens the door to flexible, print-ready artwork.
If you’re serious about design or digital products, mastering this technique will save you hours—and give you complete control over your images.
Ready to practice? Open Illustrator now and try tracing your favorite photo. The more you experiment, the better your results will be. And don’t forget to save your artwork in multiple vector formats for versatility.
Frequently Asked Questions
How do I save an image as a vector in Illustrator?
To save your image as a vector in Adobe Illustrator, go to the top menu and choose File > Save As or File > Save a Copy. From the file format dropdown, select a vector-compatible format such as AI, EPS, PDF, or SVG. These formats preserve the vector paths and allow scalability without quality loss. When exporting, pay attention to settings like embedded fonts or transparent backgrounds, depending on how the file will be used.
Does Illustrator create vector images?
Yes, Adobe Illustrator is a vector-based design tool. It automatically creates vector graphics such as lines, curves, and shapes defined by mathematical paths. Whether you’re designing logos, icons, or illustrations, everything in Illustrator is created as a vector by default—unless you place a raster image like a PNG or JPEG, which would need to be manually traced or converted.
What is the shortcut for converting text to vector in Illustrator?
To convert text into vector outlines in Illustrator, use the shortcut Shift + Ctrl + O on Windows or Shift + Command + O on Mac. This converts live, editable text into outlined paths. It’s a common step before sending files to print, especially when sharing with others who may not have the same fonts installed.
Does Illustrator automatically vectorize images?
No, Illustrator does not automatically convert raster images into vectors. However, it provides a feature called Image Trace that allows you to manually convert a placed image (like a photo or scanned drawing) into vector shapes. Once traced, the image must be expanded and saved in a vector format to be fully editable as a vector object.