In the world of image editing, professionals rely on various techniques to enhance visuals and isolate subjects. Two of the most widely used methods for background removal and object isolation are clipping path and image masking. These techniques are indispensable for industries like e-commerce, photography, advertising, and digital marketing, where high-quality images play a crucial role in engagement and conversion rates.
In this comprehensive guide, we’ll break down the key differences between clipping path and masking, discuss their applications, provide step-by-step tutorials, and help you determine when to use each technique for the best results. Before editing begins, it’s important to understand how scanned visuals are captured—our guide on TWAIN vs WIA explains this image acquisition process in depth.
Table of Contents
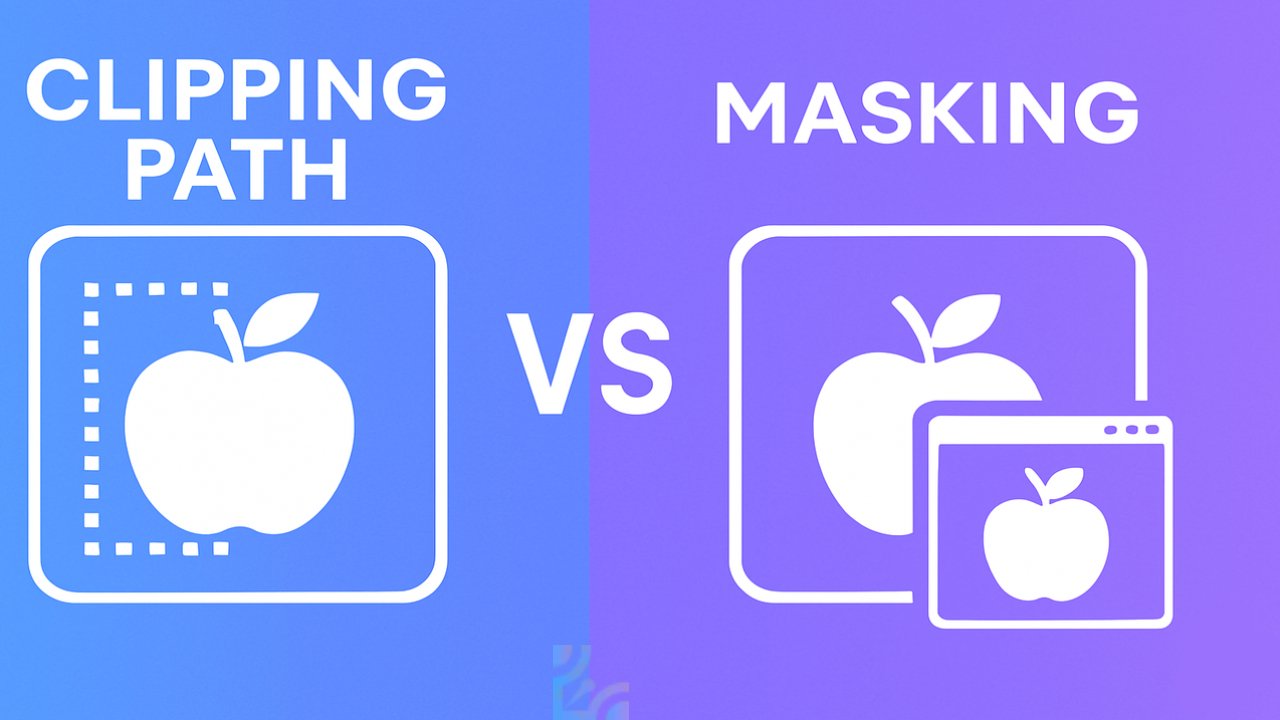
What is a Clipping Path?
A clipping path is a vector-based selection technique used to isolate an object from its background. This method is executed using the Pen Tool in Adobe Photoshop, allowing editors to create a precise outline around an object. Once the path is complete, the selected area can be extracted, leaving behind a clean and sharp cutout. Clipping paths are best suited for subjects with hard, defined edges—if you’re wondering about terminology, check our detailed breakdown on Image vs Photo.
Clipping paths are best suited for images with hard, defined edges such as products, electronics, or any object with a solid background. For professional editing, check out our Clipping Path Services tailored for high-precision results.
Key Features of Clipping Path
- Works best for objects with well-defined, sharp edges.
- Ensures precise and clean background removal.
- Ideal for e-commerce product images, catalogs, and advertising materials.
- Produces a hard edge selection, making it unsuitable for soft or complex edges like hair or fur.
Common Use Cases for Clipping Path
- E-commerce Product Photography – Used to cut out products with distinct edges, like bottles, furniture, shoes, and electronics.
- Graphic Design – Helps in creating vector graphics, logos, and marketing materials.
- Print Media – Essential for ensuring crisp, professional cutouts for magazines, brochures, and catalogs.
How to Use Clipping Path in Photoshop?
Follow these steps to create a clipping path in Photoshop:
- Open the Image – Launch Photoshop and load the image you want to edit.
- Select the Pen Tool – Choose the Pen Tool (P) from the Toolbar.
- Draw a Path Around the Object – Carefully click and trace the outline of the object to create an accurate vector path.
- Close the Path – Connect the path’s start and end points to complete the selection.
- Save the Path – Navigate to the Paths Panel and save the newly created path.
- Convert to Selection – Right-click and select Make Selection to isolate the object.
- Export the Clipped Object – Copy and paste the selection onto a new layer or export it as a PNG with a transparent background.
Using clipping paths ensures precision and consistency, making them the go-to technique for product images and objects with solid, well-defined edges. However, when dealing with complex images containing soft edges, fine details, or transparency, image masking becomes the preferred method.
What is Image Masking?
Image masking is an advanced Photoshop technique that allows editors to hide or reveal parts of an image without permanently altering the original pixels. Unlike clipping path, which is best for objects with hard edges, masking is ideal for complex selections, such as hair, fur, smoke, glass, and other transparent or semi-transparent elements.
By using layer masks and alpha channels, image masking provides a non-destructive way to edit images, offering more flexibility and precision in handling intricate details. Masking is a more flexible technique, especially when dealing with complex edges like hair or fur. Learn more in our guide on Masking in Photoshop.
Key Features of Image Masking
- Retains fine details such as hair, fur, or transparency.
- Uses layer masking, alpha channel masking, and clipping masks for precise editing.
- Non-destructive—does not alter the original image.
- Allows smooth blending and adjustments for realistic edits.
Common Use Cases for Image Masking
- Portrait Retouching – Refining hair strands, soft edges, and facial features.
- E-commerce & Product Photography – Editing transparent items like glass bottles, veils, or sheer fabrics.
- Creative Compositing – Combining multiple images seamlessly without sharp cutouts.
- Advertisement Design – Creating floating objects, fog effects, and realistic blends.
How to Use Layer Masking in Photoshop?
Follow these steps to apply layer masking for non-destructive editing in Photoshop:
- Open the Image – Load your image in Photoshop.
- Select the Image Layer – Make sure your image layer is selected in the Layers Panel.
- Add a Layer Mask – Click the Layer Mask button at the bottom of the Layers Panel.
- Use the Brush Tool (B) – Select a soft brush, and set the foreground color to black to hide parts of the image or white to reveal them.
- Refine the Mask – Adjust opacity and feathering to create smooth transitions.
- Use Channels for Complex Selections – For intricate objects like hair, go to the Channels Panel, duplicate the most contrasted channel, and refine the selection using Levels and Dodge/Burn tools.
- Fine-tune the Mask – Use the Refine Edge tool for further adjustments.
With image masking, editors can achieve realistic results while preserving details that would be impossible to retain using a clipping path. However, masking requires more effort and time, making it a preferred choice for complex images where high precision is needed.
Key Differences Between Clipping Path and Masking
Both clipping path and image masking are essential techniques in image editing, but they serve different purposes depending on the complexity of the image. The key differences lie in how they handle edges, their application, and the level of detail they retain.
Feature Comparison: Clipping Path vs. Image Masking
| Feature | Clipping Path | Image Masking |
|---|---|---|
| Edge Type | Sharp, well-defined edges | Soft, complex edges (e.g., hair, fur, transparency) |
| Editing Type | Destructive (removes background permanently) | Non-destructive (hides or reveals parts of an image) |
| Best For | Simple shapes like boxes, bottles, and products | Complex objects like hair, feathers, and smoke |
| Precision Level | High for defined objects | High for intricate details |
| Common Tools Used | Pen Tool | Layer Masks, Alpha Channels, Refine Edge |
| Flexibility | Less flexible once applied | Highly flexible, allows easy modifications |
| Processing Time | Faster for simple objects | More time-consuming for detailed work |
| Output Format | Vector-based (scalable without quality loss) | Raster-based (dependent on image resolution) |
Pros and Cons of Clipping Path and Masking
Both clipping path and image masking have their advantages and limitations. Choosing the right method depends on image complexity, required precision, and project needs. Below is a comparison of their pros and cons.
What are the pros and cons of clipping path?
| Pros | Cons |
|---|---|
| Precise & Clean Edges – Ideal for objects with well-defined edges like products, furniture, and electronics. | Not Suitable for Complex Edges – Cannot accurately handle hair, fur, or transparent objects. |
| Lightweight File Size – Vector paths do not increase image size significantly. | Destructive Editing – Once applied, changes cannot be adjusted easily. |
| calable – Can be resized without losing quality, making it great for print and digital media. | Manual Work Required – Creating a precise clipping path can be time-consuming. |
| Works Best for E-commerce – Ensures sharp, professional product images with clean cutouts. | Less Flexibility – Limited when editing blended objects with soft or blurry edges. |
What are the pros and cons of image masking?
| Pros | Cons |
|---|---|
| Retains Intricate Details – Perfect for hair, fur, and semi-transparent objects. | Time-Consuming – Requires fine-tuning and more advanced Photoshop skills. |
| Non-Destructive Editing – Changes can be adjusted without permanently altering the original image. | Larger File Size – Layer masks increase file complexity and size. |
| Blending & Soft Transitions – Allows realistic effects, including fade-ins and selective edits. | Processing Power Required – Editing large, high-resolution images with masks can slow down performance. |
| Best for High-End Retouching – Essential for portrait editing and fashion photography. | teep Learning Curve – Requires knowledge of alpha channels, layer masks, and refine edge tools. |
When to Use Clipping Path vs Masking?
Selecting the right technique depends on the complexity of the object, the level of detail required, and the final image usage. Both clipping path and image masking serve distinct purposes, and knowing when to use each can significantly impact the quality of your edits.
Use Clipping Path When:
- Objects Have Well-Defined Edges – Best for shoes, electronics, books, furniture, and fashion accessories.
- Fast and Precise Background Removal is Needed – Suitable for bulk e-commerce product images where uniformity and speed are crucial.
- Scalable Vector Cutouts are Required – Since clipping paths are vector-based, they scale without losing quality, making them ideal for logos, print designs, and catalogs.
- You Need a Lightweight File Size – Clipping paths do not increase file size significantly, making them a practical choice for web images and mobile applications.
Use Image Masking When:
- Images Contain Fine Details – Essential for hair, fur, feathers, or complex textures.
- Transparent or Semi-Transparent Objects Need Editing – Used for glass, veils, smoke, flames, and soft fabric materials.
- High-Quality Retouching is Required – Professional portrait editing and fashion photography benefit greatly from image masking.
- You Need a Non-Destructive Editing Workflow – Since masking allows easy modifications, it’s preferred when adjustments may be needed later.
Can You Use Both Clipping Path and Masking Together?
Yes! In many cases, clipping path and masking work best when combined. For example, you can use clipping paths to separate the main subject and then apply image masking to refine fine details like hair strands or transparent elements.
Which One Should You Use?
- Use Clipping Path when working with simple objects that need sharp, defined edges (e.g., product photography, vector illustrations).
- Use Image Masking for complex selections that require soft, blended edges (e.g., portraits, fashion photography, transparent objects).
- Combine Both for detailed selections—use clipping paths for the main subject and masking for hair or semi-transparent elements.
Conclusion
Understanding when to use clipping path vs. masking gives you a competitive edge in the digital space. Whether you’re editing for a product listing, creating professional advertisements, or refining high-end portraits, choosing the right technique ensures superior image quality, brand credibility, and visual consistency.
Now it’s your turn! Will you start learning these techniques yourself, or will you outsource them for faster results? Either way, having this knowledge will help you make the best decision for your business or creative projects.
Clipping Path Vs Masking FAQ
What is the difference between clip and mask?
The difference between clip and mask lies in how they control the visibility of an image or element. Clipping defines a visible area by cutting off everything outside the specified shape, while masking allows for transparency and gradual visibility control using grayscale or transparency levels. Clipping is rigid and creates hard edges, whereas masking offers smooth transitions and can retain fine details like hair or soft shadows. Clipping paths are commonly used for sharp-edged objects, while masks are preferred for blending and refining intricate details in images.
What is the difference between a clipping mask and a compound path in Illustrator?
A clipping mask in Adobe Illustrator is a shape that hides parts of an object based on the mask’s shape, allowing only the areas inside the mask to remain visible. A compound path, on the other hand, is a combination of two or more paths where overlapping areas create holes or cutouts. Clipping masks are used to show selected parts of an image or artwork, while compound paths are used to create complex shapes with transparent areas. Clipping masks control visibility, while compound paths affect object structure.
What is an example of a clipping path?
An example of a clipping path is removing the background from a product image for an e-commerce store like Amazon or Shopify. If a retailer has a picture of a shoe, a designer would use a clipping path to create a precise selection around the shoe, removing the background so that it can be placed on a clean white or transparent backdrop. Another example is isolating a company logo from a scanned image so that it can be used on different backgrounds without unwanted elements. Clipping paths create clean and sharp cutouts for various professional applications.
What is the difference between clipping path and mask?
The main difference between clipping path and image masking is how they handle edges and transparency. Clipping path is a vector-based selection method that removes backgrounds with sharp, well-defined edges, while image masking is a pixel-based technique that allows for gradual transparency and soft edges. Clipping paths are ideal for e-commerce products, logos, and solid objects, whereas image masking is used for hair, fur, glass, and semi-transparent materials. Clipping paths create hard cutouts, while masks allow for blending and refined edge adjustments.
What is the difference between clip path and mask in CSS?
In CSS, clip-path and mask both control the visibility of elements but work differently. clip-path defines a visible region by cutting off everything outside a specific shape, similar to cropping. It is commonly used for creating geometric cutouts in web design. mask, on the other hand, allows for gradual transparency and blending using images or gradients. While clip-path only supports sharp, defined edges, mask can create soft fades, partial transparency, and complex visual effects. Both techniques enhance web design but serve different purposes based on visibility needs.
What would be an advantage to using a clipping mask instead of a layer mask?
Clipping masks enable users to combine images, text, and graphics in a non-destructive way, ensuring all edits can be adjusted or removed at any time without permanently changing the original layers. Using clipping masks opens up endless creative possibilities in design and photo editing.