33K+ Projects Completed With Famous Brands & Small Businesses


How We Work
Upload
Send us your raster file (JPG, PNG, GIF, etc.) through our secure upload system.
Payment
Choose a package and complete the payment. We offer affordable pricing with secure checkout.
Production
Our expert designers manually trace and refine your image into a high-quality vector file.
Delivery
Receive your vector file (AI, EPS, SVG, PDF) via email within 24-48 hours – ready to use!
Blurry Image to Vector Conversion
Blurry images can make your projects or brand look unprofessional. At Phototovector.com, we convert blurry images into sharp, clear, and scalable vector graphics. Unlike pixel-based images (JPG or PNG), vector files stay crisp and distortion-free at any size, making them ideal for everything from small icons to large banners. Our expert team manually recreates every detail using Adobe Illustrator, ensuring precision and high-quality results suitable for print, digital use, and marketing materials.
Converting blurry images to vectors eliminates distortion and boosts the clarity of your visuals. Businesses rely on clean, professional images to build trust and engage customers effectively. Raster images lose quality when resized, but vector files remain sharp no matter how large or small. If blurry visuals are holding you back, let Phototovector.com provide the solution. Contact us today for fast, affordable, and professional vector conversion services that make your graphics stand out.
Why Convert Blurry Images to Vectors?
Blurry images can damage your brand’s image and fail to capture attention. Raster files like JPG or PNG lose clarity when resized, making them unsuitable for large displays, posters, or print materials. By converting blurry images to vector files, you get visuals that remain sharp and clear at any size. Vector graphics use mathematical paths instead of pixels, ensuring they are distortion-free, scalable, and perfect for any application—whether digital screens, packaging, or large banners.
At Phototovector.com, we help businesses and individuals transform blurry logos, icons, and product images into high-quality vector graphics. Sharp visuals enhance professionalism, engage your audience, and improve marketing outcomes. Don’t let unclear images undermine your efforts—choose vector conversion to guarantee clarity and consistency. Contact us today for precise, affordable, and impactful vector solutions that make your visuals stand out.
How Can We Help You?
At Phototovector.com, we are your go-to experts for converting blurry images into high-quality, scalable vector graphics. Whether you have a logo, product image, or corporate graphic, our professional team ensures your visuals are crisp, clean, and ready for use across any platform or size.
Our services stand out because we combine advanced technology with manual vectorization. While automated tools often produce inaccurate results, our skilled artists meticulously trace every shape, line, and detail to create pixel-perfect vector files. We work with all common raster formats like JPG, PNG, and BMP and convert them into professional vector formats such as AI, EPS, SVG, and PDF.
Why Choose Us For Blurry image to vector conversion?
At Phototovector.com, we make the process of blurry image to vector conversion simple, professional, and stress-free. From start to finish, our goal is to deliver results that exceed your expectations. You should choose us because of the following reasons:
- Professional Expertise: Our team of veteran vector artists has years of experience in delivering flawless results.
- Global Trust: We’ve earned the confidence of international clients by providing consistent quality and precision.
- Flexible Applications: Our vector files can be used for anything—from tiny icons to massive billboards—without losing clarity.
- Fast Turnaround Time: We value your time and ensure prompt delivery without compromising quality.
- Cost-Effective Services: Get top-tier vector conversions at an affordable price.
What Will You Get From Us?
At Phototovector.com, we guarantee professional, high-quality vector conversions tailored to your needs. Here’s what you can expect when you work with us:
- 100% Manual Vectorization: Our expert artists manually recreate every detail, ensuring clean edges, precision, and superior quality that automated tools can’t match.
- Top-Notch Quality: Whether it’s a small logo or large artwork, our vector files are sharp, clear, and scalable to any size—perfect for icons, print materials, or billboards.
- Fast Turnaround Time: We deliver your vector files quickly and reliably, so you can meet your project deadlines without stress.
- Affordable Pricing: Professional vector conversions at competitive rates make our services accessible for businesses, designers, and individuals.
- Professional Team: Our skilled artists bring accuracy, clean lines, and precise colors to every project, ensuring flawless results.
- Multiple File Formats: Receive your final vector files in all major formats—AI, EPS, SVG, PDF, PNG, and JPG—compatible across all devices and platforms.
- Guaranteed Satisfaction: We are committed to exceeding your expectations, delivering results that meet your goals and make you proud.
Choose Phototovector.com for unmatched quality, reliability, and value in vector conversion services. Contact us today to get started!
Why Settle for Less?
Blurry, low-quality images can damage your brand and message. By partnering with Phototovector.com, you’ll receive sharp, professional vector graphics that elevate your visuals and make a lasting impression.
Ready to transform your images? Contact us today to get a quick quote and see why we’re trusted by global brands for exceptional vector conversion services!
Why Multiple File Formats Matter?
Every project is unique, and each file format serves a purpose:
- Print: AI, EPS, and PDF ensure high-quality printing with no loss of resolution.
- Web and Digital: SVG and PNG are perfect for websites, apps, and social media.
- Universal Use: PDF files are accessible on any device, making them ideal for sharing designs.
When you partner with us, you get access to all these formats, ensuring you can use your vector graphics for any purpose without hassle.
Looking for versatile and professional vector files? Trust Phototovector.com for precision, quality, and flexibility. Contact us today to get your PNG or JPG images converted into high-quality vector formats that fit all your needs!
How Can You View Our Work?
You can visit our portfolio to explore the transformations we’ve made for global clients. From small businesses to large enterprises, our work speaks for itself.
If you’re unsure whether your image can be vectorized, send it to us! We’ll evaluate it for free and show you how we can transform it into a professional-quality vector.
Need to see your blurry image in a new light? Contact Phototovector.com and request a free quote today. Let our work samples inspire confidence in what we can achieve for you!
Why Our Clients Trust Us?
Our clients choose us for:
- Unmatched Precision: Every vector is manually drawn to ensure accuracy and sharpness.
- Fast and Reliable Turnaround: We meet deadlines without compromising quality.
- Affordable Pricing: High-quality services that fit all budgets.
- Flexible Solutions: We cater to businesses of all sizes, designers, and individuals.
- Outstanding Support: Clear communication and unlimited revisions to meet your expectations.
Join Our Happy Clients
Our client testimonials reflect our commitment to excellence and professionalism. No matter the complexity of your project, we deliver high-quality vector conversions that exceed your expectations.
Ready to transform your blurry images? Contact us today and experience why clients around the world trust us with their vector needs.
How to Convert Blurry Images to Vectors Using Adobe Illustrator?
Converting blurry images into sharp, scalable vectors is a simple process with Adobe Illustrator, one of the most powerful tools for image tracing. Follow these steps to ensure clean and precise results:
- Step 1: Start by opening the blurry image in Illustrator. Place the image onto the artboard by clicking File > Place.
- Step 2: Open the Image Trace Panel from the top menu by selecting Window > Image Trace.
- Step 3: Turn on Preview to see the live changes. Adjust the settings to enhance clarity and detail, choosing options like High Fidelity Color or Black and White based on your needs.
- Step 4: Fine-tune the output using options like Paths (anchor point accuracy), Corners, and Noise to reduce unnecessary details.
- Step 5: Once satisfied, click Trace and finalize the vector by selecting Object > Expand.
Adobe Illustrator ensures professional-quality vector graphics, ready for use in printing, web design, or branding. If you need an expert vector converter help, we offer manual vectorization for the cleanest and most accurate results.
How to Convert Blurry Images to Vectors using AI?
If you’re looking for a faster and more automated way to convert blurry images into clean vectors, AI tools are a game-changer. These tools use artificial intelligence to sharpen images, improve resolution, and convert raster images into scalable vector formats seamlessly.
Here’s how you can use AI tools for blurry image-to-vector conversion:
- Upload Your Image: Start by selecting an online AI photo enhancer tool or vectorizer. Upload your blurry image to begin the process.
- AI Processing: The AI tool automatically sharpens the image, fixes pixelation, and enhances the resolution. Some tools even upscale the image 2x to 4x to make it larger and clearer.
- Convert to Vector: AI tools trace the enhanced image to create a clean vector version, ensuring scalability without loss of quality.
- Download and Edit: Save the file as a vector format like SVG, EPS, or PDF. Many tools offer additional editing options for fine-tuning.
For projects requiring precision and detail, Phototovector.com combines manual expertise with advanced tools to deliver flawless, high-quality vector conversions every time. Contact us today for professional results tailored to your needs!
7 Free Methods to Fix Blurry Images
If you’re struggling with blurry images, here are 7 effective and free methods to fix them and improve their clarity:
- Use AI Photo Enhancer Tools: AI-powered tools like YouCam Enhance or ImgGen AI automatically sharpen blurry images, improve colors, and upscale the resolution. These tools are ideal for quick fixes.
- Increase Sharpness and Contrast: Photo editing apps like Adobe Photoshop and Fotor allow you to manually increase sharpness and contrast, enhancing the edges and details to make the image look clearer.
- Adjust Camera Focus: If your original photo is blurry, ensure proper focus while capturing images. Correct focus prevents blurriness during the shot.
- Use a Wide-Angle Lens: A wide-angle lens helps reduce motion blur by increasing the depth of field, ensuring clearer images, especially when capturing fast-moving subjects.
- Stabilize Your Camera with a Tripod: Camera shake is one of the main causes of blurry images. Using a tripod eliminates movement and provides stability for sharper shots.
- Use a Larger Aperture: Adjusting your camera’s aperture allows more light into the lens, which reduces blur, particularly in low-light environments.
- Opt for Optical Image Stabilization (OIS): Devices with OIS technology stabilize your camera in real-time, preventing blurriness caused by motion or shaking, even in challenging conditions.
Each method can be used independently or combined for better results. If manual fixes feel too complex, AI tools and vector conversion services offer hassle-free solutions to improve your images.
At Phototovector.com, we provide expert damaged image-to-vector conversions to transform unclear images into professional, high-quality graphics. Contact us today and say goodbye to blurry visuals!
How to Make Blurry Photos Clear on Mobile?
Fixing blurry photos on your mobile device, whether Android or iPhone, has never been easier with advanced mobile apps. These tools are specifically designed to sharpen images, remove unwanted objects, and enhance photo quality—all with just a few taps. Here’s how you can clear up blurry photos:
- Step 1: Download a mobile photo enhancement app like YouCam Enhance from the App Store or Google Play. This app uses AI to improve photo clarity and resolution quickly.
- Step 2: Upload the blurry image you want to fix. The app will automatically detect and process the image to enhance sharpness and details.
- Step 3: Tap on the “Enhance” feature. This tool works by sharpening edges, reducing noise, and restoring the photo’s clarity without compromising quality.
- Step 4: Use the “Object Remove” feature if there are any unwanted elements in your image. This step helps ensure a clean and professional look.
- Step 5: Save your enhanced image. Once the photo is fixed, you can download it in high resolution or share it directly from the app.
For more advanced solutions, like converting blurry images into scalable vector graphics, trust Phototovector.com. We transform your blurry visuals into professional-quality vector files suitable for printing, advertising, and digital use. Get in touch today for fast, reliable results!
Top 5 Best Free Tools to Fix Blurry Images in 2025
If you’re looking for the best tools to fix blurry images, here are the top 5 free apps and online tools that will help you enhance photo clarity and precision in 2025:
- YouCam Enhance
A powerful AI-based tool that automatically sharpens blurry images, improves resolution, and removes imperfections. Available on both Android and iOS, YouCam Enhance is user-friendly and perfect for beginners. - ImgGen AI Unblur Tool
ImgGen AI is an online tool that specializes in unblurring and upscaling images. With just one click, it sharpens details, fixes pixelation, and enhances the overall image quality, making it ideal for vector conversions. - Adobe Photoshop Express
Photoshop Express is a free, lightweight version of Adobe Photoshop. It allows you to adjust sharpness, contrast, and clarity with easy-to-use sliders, helping you fix blurry images quickly. - Fotor AI Image Sharpener
Fotor offers a free online AI-powered image sharpener. It enhances edges, reduces noise, and sharpens blurry photos without affecting the overall quality, making it perfect for old or low-resolution images. - Pixlr Sharpen Tool
Pixlr is a popular online photo editor that provides a built-in Sharpen Tool. It allows users to adjust sharpness manually while offering features for color correction and noise reduction.
At Phototovector.com, we take image enhancement one step further by converting blurry images into clean, high-quality vector graphics. If you need professional, scalable results for marketing or print, reach out to us today for our expert vector conversion services! And check this guide to find the latest best tool for photo to vector conversion.
Why Do Vector Images Look Blurry in Pixel Preview?
Vector images are well-known for their sharpness and scalability, yet they can appear blurry in certain conditions, particularly in pixel preview mode. This can be confusing, but it’s often due to how vector images are rendered on pixel-based displays. Here’s why it happens and how to fix it:
- Rendering Resolution: Screens display images using a grid of pixels. If the resolution is too low, even a vector image can look blurry in pixel preview mode.
- Anti-Aliasing: Anti-aliasing smooths edges in vector images by blending pixels to reduce jagged lines. While this improves smoothness, it can sometimes cause slight blurriness.
- Zoom Levels: Viewing a vector image at non-integer zoom levels (e.g., 150% or 175%) forces the software to interpolate, introducing blur. Always view at 100% or 200% for best results.
- Low Screen Resolution: On lower-resolution screens, vector images may lose some of their sharpness, even though they remain scalable and clear for printing or high-res displays.
- Software Rendering Differences: Different tools like Adobe Illustrator or CorelDRAW may render previews differently, prioritizing speed over quality in some settings.
Solutions to Fix Blurry Vector Previews
- Increase Screen Resolution: Work on high-resolution monitors for a sharper preview.
- Turn Off Anti-Aliasing: Some software allows you to disable anti-aliasing for cleaner edges.
- Use Integer Zoom Levels: Stick to 100%, 200%, or 400% to avoid interpolation artifacts.
- Export at High Resolution: If exporting to a raster format, choose a higher DPI (300+ for print).
- Update Software: Ensure you’re using the latest version of your vector design software for better rendering performance.
While pixel preview may display temporary blurriness, vector files remain resolution-independent. When printed or displayed correctly, they retain their sharp, clean lines without distortion.
At Phototovector.com, we specialize in converting blurry raster images into flawless vector graphics. Our experts ensure every curve, path, and detail is meticulously traced for perfect results. Contact us today to elevate your visuals with high-quality vector conversions!
Our Blurry Image to Vector Conversion Work Sample





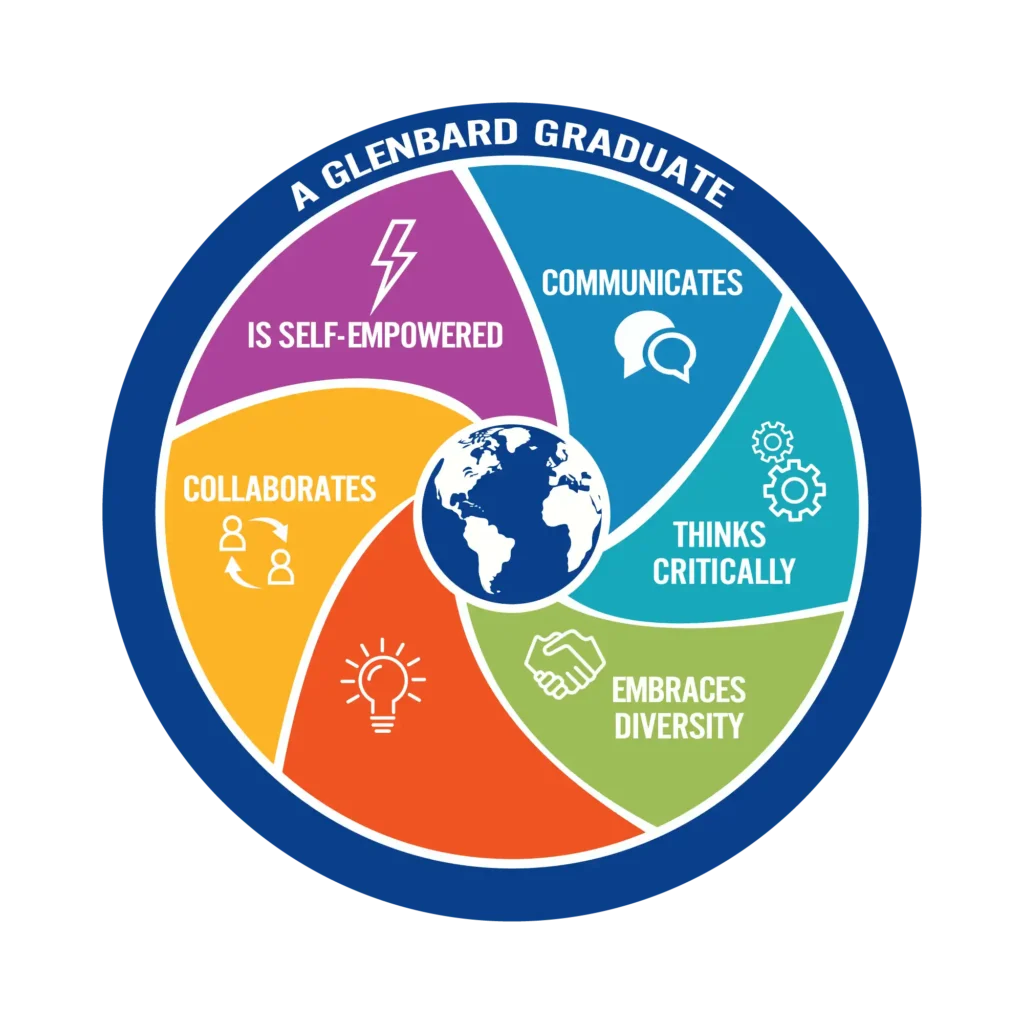
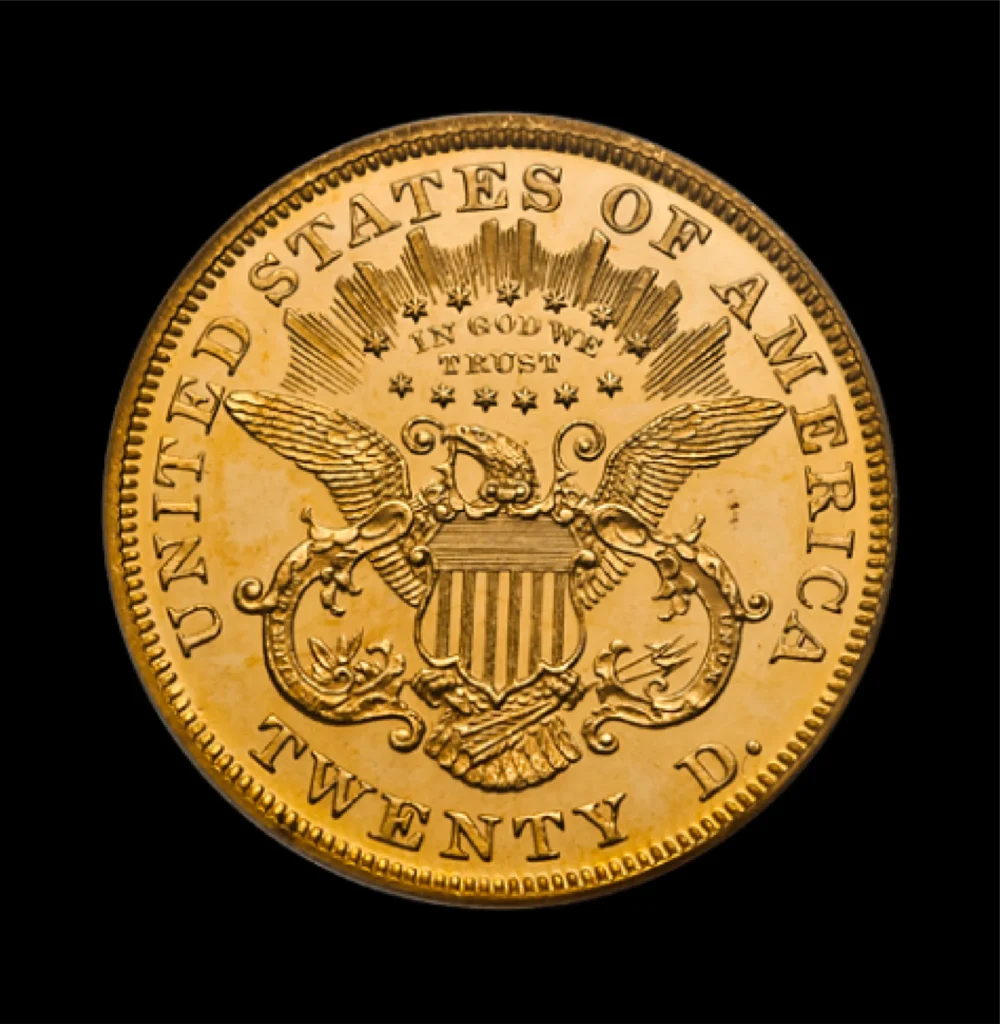


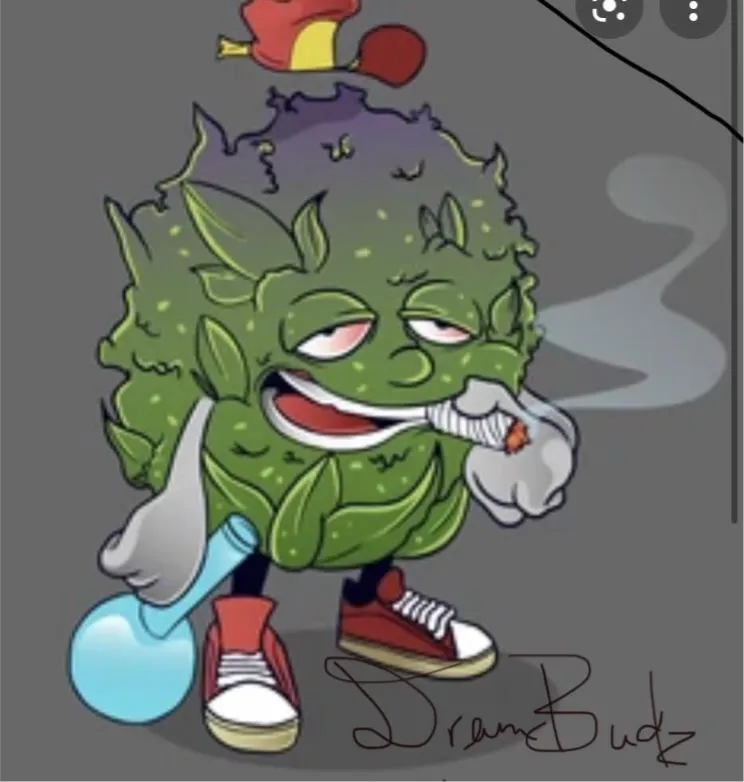
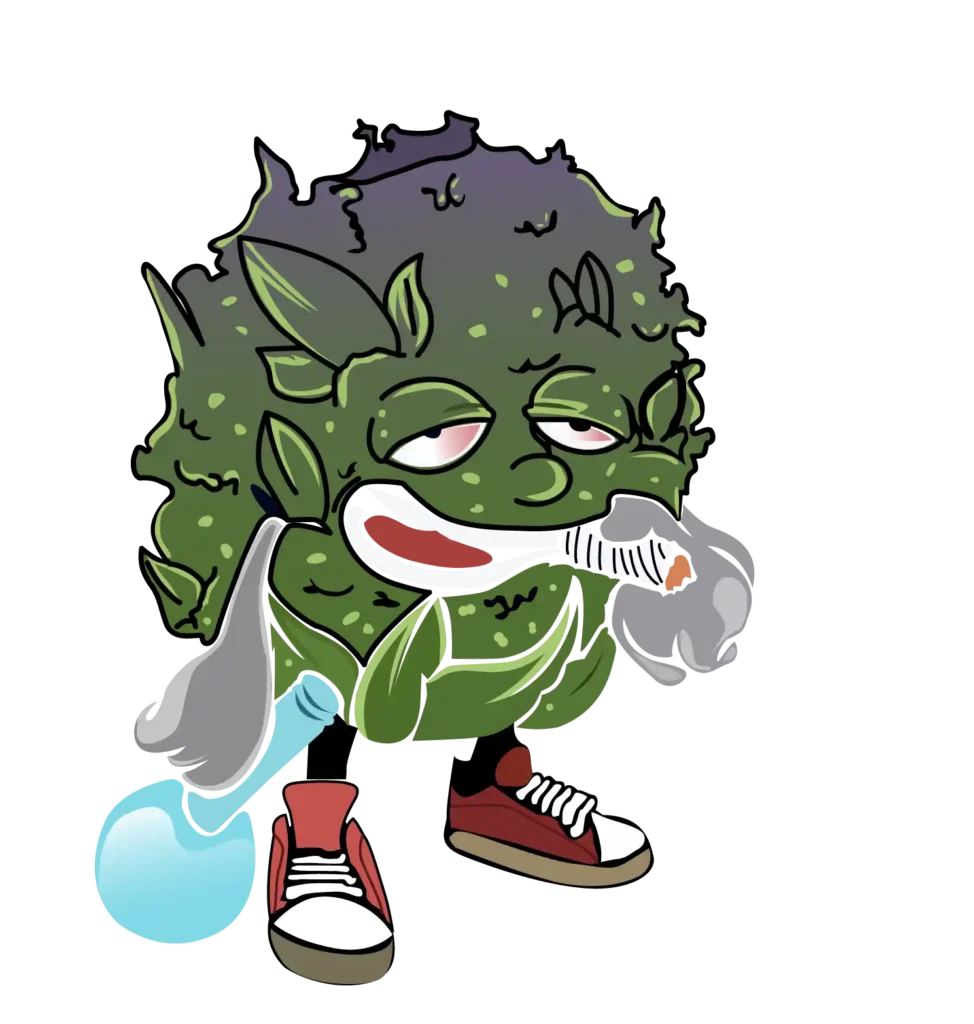
Looking for Blurry Image to Vector Conversion?
100% Manual Vector Service
Never trust automatic low-quality vector tracing, rather grab the high-end manual vector conversion in Illustrator.Premium Vector Conversion at Convenient Price
Get the topmost raster to vector services at the best prices and boost your online product sales and profits.Within Your Deadline
Without compromising with low-quality visuals, we produce the max quality vector graphics within your tight deadline.What we did here-
- Converted damage image to vector graphic
- Used Adobe Illustrator
- Hand-made vector path
- Stroke for line drawing
- Retain original color
- Remove messy background
Blurry Image to Vector Conversion FAQ's
If an image is blurry, you can fix it using a few proven methods. First, ensure you focus correctly while taking photos to prevent blurriness. Use a tripod to stabilize the camera and avoid motion blur. Opt for a wide-angle lens to reduce the chance of blur caused by depth of field issues. Adjust the aperture to a larger setting (lower f-stop) to improve focus and clarity. After capturing, tools like the Deblur feature in PhotoDirector can sharpen blurry images effectively. Combining these steps will help you produce higher-quality, clear images.
The most effective method to fix a blurry image is by using an increased shutter speed. Slow shutter speeds often result in blurry photos caused by camera shake or subject movement. To correct this, increase the shutter speed to at least double your lens’ focal length (e.g., use 1/100 for a 50mm lens). This adjustment reduces motion blur significantly. Additionally, stabilizing the camera with a tripod or enabling image stabilization features will help prevent shake. Post-processing tools can also improve clarity after the photo is taken.
Blurry pictures are primarily caused by poor focusing and slow shutter speeds. If the camera fails to focus correctly on the subject, the image will appear unclear. Slow shutter speeds allow movement—whether from the camera or subject—to cause motion blur. Additionally, low light conditions, camera shake, or using a low-quality lens can contribute to blurry results. To prevent this, focus carefully, use faster shutter speeds, stabilize the camera with a tripod, and adjust lighting conditions to improve clarity during the photo-taking process.
To improve the resolution of a blurry picture, use a photo editing app or software to enhance sharpness and contrast. Increasing sharpness helps define edges and fine details, while adjusting contrast improves the separation between light and dark areas, making the image appear clearer. Tools like Adobe Photoshop or AI-based photo enhancers can also upscale the image resolution while reducing noise and pixelation. Converting the image into a vector format is another effective way to fix blurry photos, as vectors remain sharp at any size.
The level of blur in an image is primarily controlled by the aperture setting (f-stop) on your camera lens. A wider aperture (lower f-stop, such as f/2.8) creates a narrower depth of field (DoF), where only a small area of the image remains in focus, causing the background to blur. Additionally, shutter speed and focus accuracy influence blur intensity. A slower shutter speed can introduce motion blur, while poor focus leads to an unclear subject. Adjusting these settings will help control and minimize unwanted blur in your photos.
To unblur an image in Adobe Illustrator, use the Image Trace tool. Start by importing the blurry image into your artboard. Open the Image Trace panel (Window > Image Trace) and select a preset like High Fidelity Color or Black and White to convert the image into vectors. Adjust settings like Paths, Corners, and Noise to refine the output and improve sharpness. Once done, click Trace and then Expand to create a clean, unblurred vector version. Illustrator sharpens the image by removing pixelation and turning it into scalable paths.
Trusted by 15k+ Clients Worldwide

graphkoloğyusa
We recently wrapped up another project, and I couldn't be more impressed with the speed, professionalism, and excellence displayed throughout the entire process... I highly recommend their services.

boeing652
This is our 3rd collaboration - quick delivery, attention to details, proactive communication are those things that keep me coming back. I’ll pass by for more again 🙂

prostryker
Tushar S is a TRUE professional in vector tracing! His creative approach and keen attention to detail brought unbeatable visual appeal to the project. It was a joy to work with him due to his quick responsiveness and proactive communication.

aderoag
I recently had the pleasure of working with Tushar S. for the redesign and vectorization of our company logo... The quality of Tushar's work is top-notch... His polite and professional demeanor made the entire process smooth and enjoyable.

formulaat
The work commenced within five minutes of placing the order, and was done in a matter of hours with only a single small revision needed. Excellent work and excellent value.

furclpher
Wow the final work is just incredible! And they delivered really fast for a complex image. I am extremely happy with the result, they are very talented. I recommend it without any hesitation!

premierimprints
Such a quick turnaround and exceptional quality. I am thrilled to find such a great designer and will definitely use him again—exceptional quality and communication.

bavarian_123
I think it was the best customer service I've ever had. Tushar was immediately reachable and always able to work with me in a friendly and fast manner... The result was very satisfactory.

wbmdesign
Super awesome to work with. Did a fantastic job with the manual image trace... Loved working with this team will definitely hire them again in the future.

dkelley120
Outstanding product, amazing communication, and very attentive to my project requirements... Will definitely use again and HIGHLY RECOMMEND! A+++++++


