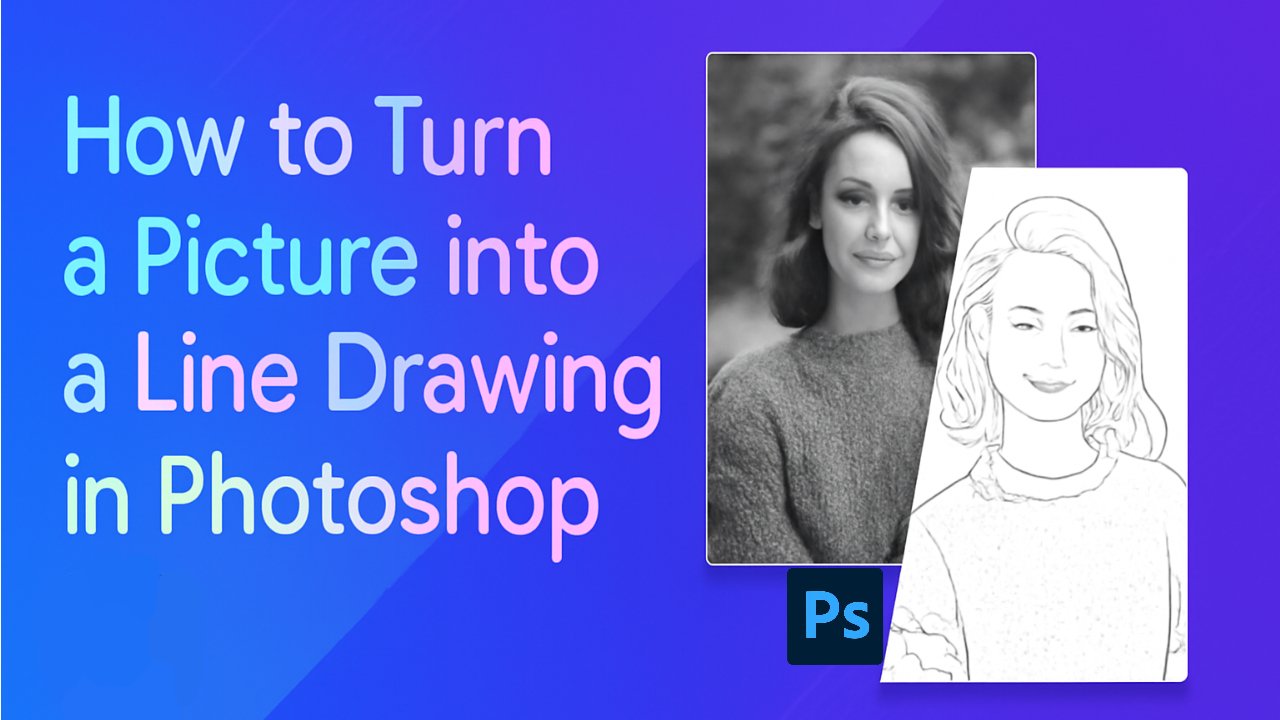
Want to transform your photos into stunning line drawings or sketches in Photoshop 2025? Whether you’re creating artwork for digital marketing or adding a creative touch to your product photos, this simple process can make your images stand out. In this step-by-step guide, we’ll show you how to turn a picture into line drawing in Photoshop no advanced illustration skills required. With just a few tweaks and the right tools, you can easily convert your images into crisp, professional-looking line drawings that are perfect for branding, websites, and more. If you need professional help converting sketches or outlines, check out our Vector Line Art Services.
Table of Contents
Step 1: Adjust the Contrast of Your Photo
Before turning your photo into a line drawing, it’s essential to adjust its contrast to ensure the subject stands out clearly against the background. A higher contrast will help separate the light areas of the subject from the background, making it easier to define the lines later on.
To begin, open the Layers panel in Photoshop and select the image layer. If you’re working with a flat image, such as a JPG, the background layer will be locked by default. To unlock it, simply click on the lock icon in the Layers panel.
Next, use the Curves tool to adjust the contrast. Go to Image > Adjustments > Curves from the top menu. In the Curves window, you’ll see a diagonal line. Click and drag this line to adjust the brightness and darkness of the photo. Lower the curve to darken the image and pull it up to lighten the areas. You can also adjust the Red, Green, or Blue channels individually if needed.
Once you have the desired contrast, click OK to apply the changes. This step ensures that the image is properly prepared for turning it into a line drawing in the next stages.
Step 2: Set Up Your Layers
In Photoshop, layers are essential for managing different elements of your image. To begin creating your line drawing, you’ll need to duplicate the original image layer several times. This allows you to work non-destructively and experiment with various effects without altering the original photo.
To duplicate your image layer, go to the Layers panel, right-click on the original image layer, and select Duplicate Layer. Repeat this process until you have four identical layers. It’s helpful to name each layer for easy reference, especially when working with multiple layers.
Here’s a suggested naming convention for your layers:
- Background Layer: The original image layer.
- Inverted Layer: The second layer, which will be used for inverting the image.
- Sketch Layer: The third layer, which will hold your final sketch effect.
- Cross-Hatch Layer: The topmost layer, which will add detailed effects like cross-hatching.
Now that your layers are set up, you’re ready to move on to adjusting the colors and converting the image to black and white.
Step 3: Convert the Image to Grayscale Using an Adjustment Layer
Since sketches are typically black and white, the next step is to convert your image into grayscale. This is an important step to ensure that you’re working with a purely black-and-white version of the photo for better line drawing results.
To begin, go to the Layers panel and select the top duplicated layer. Now, instead of directly converting the image to grayscale, we’ll use an adjustment layer for a more flexible, non-destructive method.
Click on the half-black, half-white circle at the bottom of the Layers panel to create a new Hue/Saturation adjustment layer. This will affect all the layers beneath it. In the Properties panel (located on the right), drag the Saturation slider all the way to the left, reducing the image’s color saturation to zero. Your image will now be in black and white.
This method gives you more control over the image, as you can easily tweak the adjustments or remove them without permanently altering the original image.
Step 4: Convert Your Photo to a Line Drawing
Now that your image is in grayscale, it’s time to convert it into a line drawing. This step involves using Photoshop’s layer effects and blending modes to create an outline from your photo.
First, make the top two duplicated layers invisible by clicking the eye icon next to them in the Layers panel. This ensures that only the Inverted Layer is visible for this step. The Inverted Layer should be selected, and you’ll start by changing its Blending Mode to Color Dodge. To do this, go to the Layers panel, click on the Blending Mode dropdown menu, and select Color Dodge.
Next, invert the image by pressing Ctrl+I (Windows) or Cmd+I (Mac). Alternatively, you can go to Image > Adjustments > Invert from the dropdown menu. This will create a high-contrast, almost white image, but don’t worry, we’ll add the final details in the next steps.
To refine the effect, add a Gaussian Blur. Go to Filter > Blur > Gaussian Blur from the menu. Adjust the slider to control the amount of blur and achieve the desired line drawing effect. The amount of blur will determine how defined the lines are—more blur will soften the edges, while less will create sharper lines.
Step 5: Set Your Background and Foreground Colors
Before adding final touches and filters, it’s essential to set the background and foreground colors in Photoshop to ensure your line drawing looks polished.
To set the background color, double-click on the background color square in the toolbar. In the Color Picker dialog box, select a color that matches your desired background tone (usually white or a light gray works best for sketches).
Next, set the foreground color to a medium gray, which will serve as the tone for the lines of your drawing. Double-click on the foreground color square in the toolbar and choose a color from the Color Picker. A medium gray will give your lines a subtle yet defined appearance, without being too harsh.
These settings will ensure that your sketch maintains clean lines and a professional finish. After adjusting both colors, you’re ready to move on to the next step, where you’ll add shading and more detailed effects.
Step 6: Add Pencil Shading to Your Image
Now that you’ve created the basic line drawing, it’s time to add some depth and dimension with pencil shading. This will give your sketch a more realistic, hand-drawn look.
To add shading, start by making the Sketch Layer visible again in the Layers panel. Select this layer and go to Filter > Filter Gallery from the dropdown menu. The Filter Gallery window will open, offering various effects.
From the Sketch folder in the Filter Gallery, select the Charcoal effect. This filter will add shading to your image, simulating the look of pencil strokes. Adjust the sliders in the Charcoal filter to fine-tune the effect. You can control the thickness of the strokes, the lightness or darkness, and the overall balance of the shading.
Once you’re happy with the shading, click OK to apply the filter. This will add more texture and dimension to your line drawing, making it appear more like a hand-sketched image.
Step 7: Add a Cross-Hatching Effect to Your Image
To give your line drawing a more detailed, hand-drawn feel, it’s time to apply a cross-hatching effect. This step adds depth and texture, mimicking traditional sketching techniques.
First, make the Cross-Hatch Layer visible in the Layers panel. Ensure all layers are visible at this point, as the cross-hatching will work best when all elements are in place.
Select the Cross-Hatch Layer and go to Filter > Filter Gallery once again. In the Filter Gallery, navigate to the Sketch folder and select the Torn Edges filter. This will add a torn texture to the edges of your lines, giving your sketch a more organic, artistic appearance.
Adjust the sliders in the Torn Edges filter to fine-tune the effect until you see the details appear. Next, apply the Graphic Pen filter to give the strokes a more dynamic, diagonal appearance. This will enhance the overall hand-drawn style of your line drawing.
Once you’re satisfied with the look, click OK to apply the effect.
Step 8: Make Your Final Tweaks
You’re almost done! Now it’s time to fine-tune your line drawing to perfect the details and give it a polished finish.
Start by adjusting the opacity of the top two layers to reduce any redundancy in the pencil shading. For the Cross-Hatch Layer, lower the opacity to around 60% and for the Sketch Layer, set it to 70%. This will soften the harshness of the lines and create a more balanced effect.
Next, clean up any unwanted dark spots or smudges in the white background. To do this, select all layers, including the Hue/Saturation adjustment layer. Go to the Layers panel and press Shift + Ctrl + A + E (Windows) or Shift + Command + Option + E (Mac) to stamp all layers into one new layer.
Now, select the Brush Tool and set the foreground color to white. Carefully paint over any smudges, artifacts, or dark areas in the background. This will help keep the sketch clean and precise.
Once you’re satisfied with the final result, you’ve successfully turned your photo into a detailed line drawing or sketch in Photoshop!
How Do You Save and Export Line Drawings in Photoshop?
Once you’ve turned your photo into a line drawing, it’s important to save and export your work properly to maintain quality. Photoshop offers several file formats suitable for different needs.
- JPEG/PNG: Ideal for web use. Choose File > Save As to select the format.
- PSD: Save your work with all layers for future edits.
- SVG: Use File > Export > Export As for scalable vector graphics.
Adjust resolution—300 dpi for print, 72 dpi for web. Want to work faster? Refer to our complete list of All Photoshop Shortcuts to streamline your workflow.
What Are Common Mistakes to Avoid When Creating Line Drawings in Photoshop?
Creating line drawings in Photoshop requires attention to detail. Here are some common mistakes to avoid:
- Low Contrast: Adjust contrast with Curves for clear lines.
- Overusing Blur: Apply Gaussian Blur sparingly for sharper results.
- Disorganized Layers: Label and organize layers for better control.
- Low-Resolution Images: Start with high-quality photos for clean lines.
- Ignoring Adjustment Layers: Use adjustment layers for non-destructive edits.
How Can You Improve Your Line Drawing Skills in Photoshop?
Here are some useful tips for improving your Photoshop line drawing skills and getting more precise results:
- Master the Pen Tool: Practice to create smooth, precise lines.
- Use Pressure Sensitivity: Enable it for variable line thickness.
- Work with High-Res Images: Ensure clear, sharp lines in your sketches.
- Experiment with Brush Settings: Use custom brushes for texture and detail.
- Use Layer Masks: Refine parts of the image without affecting the whole.
Line drawings are also widely used in storytelling—explore our Children’s Book Illustration Services for publishing-ready artwork.
What Are the Best Photoshop Alternatives for Line Drawing?
While Photoshop is a powerful tool, there are other options for creating line drawings, each offering unique features. Here are some of the best alternatives:
- Illustrator: Best for vector-based line drawings.
- CorelDRAW: Another great vector tool for detailed work.
- Procreate: Ideal for tablet users, with a natural drawing feel.
- Inkscape: Free vector editor with features similar to Illustrator.
- GIMP: Free raster editor with solid sketching tools.
For advanced conversion, editing, or illustration support, visit Photo to Vector and explore our full range of services.
Frequently Asked Questions
What is the line drawing method?
Line drawing refers to an artistic technique where images are created using distinct straight or curved lines, without any shading or blocks of color. The result is a minimalist representation, often used in sketches and illustrations. In the context of Photoshop, line drawings are typically created by converting photographs into black-and-white outlines, allowing for clear, sharp lines that resemble traditional sketches.
What is the rule for one-line drawing?
In a one-line drawing, the key rule is that the artist must create the entire image without lifting the pen or pencil from the surface. The line must be continuous, meaning that it starts at one point and ends at another without any interruptions. This technique challenges the artist’s ability to represent complex objects or scenes in a single, flowing line, resulting in a unique and stylized representation.
What are the basic concepts of line drawing?
Line drawing, also known as line art, is a style of drawing where only the outlines of an object are drawn, with no shading or use of color. It’s the simplest form of drawing that focuses on the structure and form of an object, often using different line thicknesses and textures to add emphasis or detail. Line art is commonly used in illustrations, comics, and digital designs as it provides clear, crisp visuals without distraction.
Is there an app that will turn a photo into a line drawing?
Yes, several apps can convert photos into line drawings. One popular option is BeFunky, which is available on both iOS and Android devices. BeFunky allows you to turn your photos into sketches, paintings, cartoons, and more, with simple tools and adjustments. It’s a user-friendly app that makes creating professional-looking line drawings quick and easy, even without advanced photo editing skills.