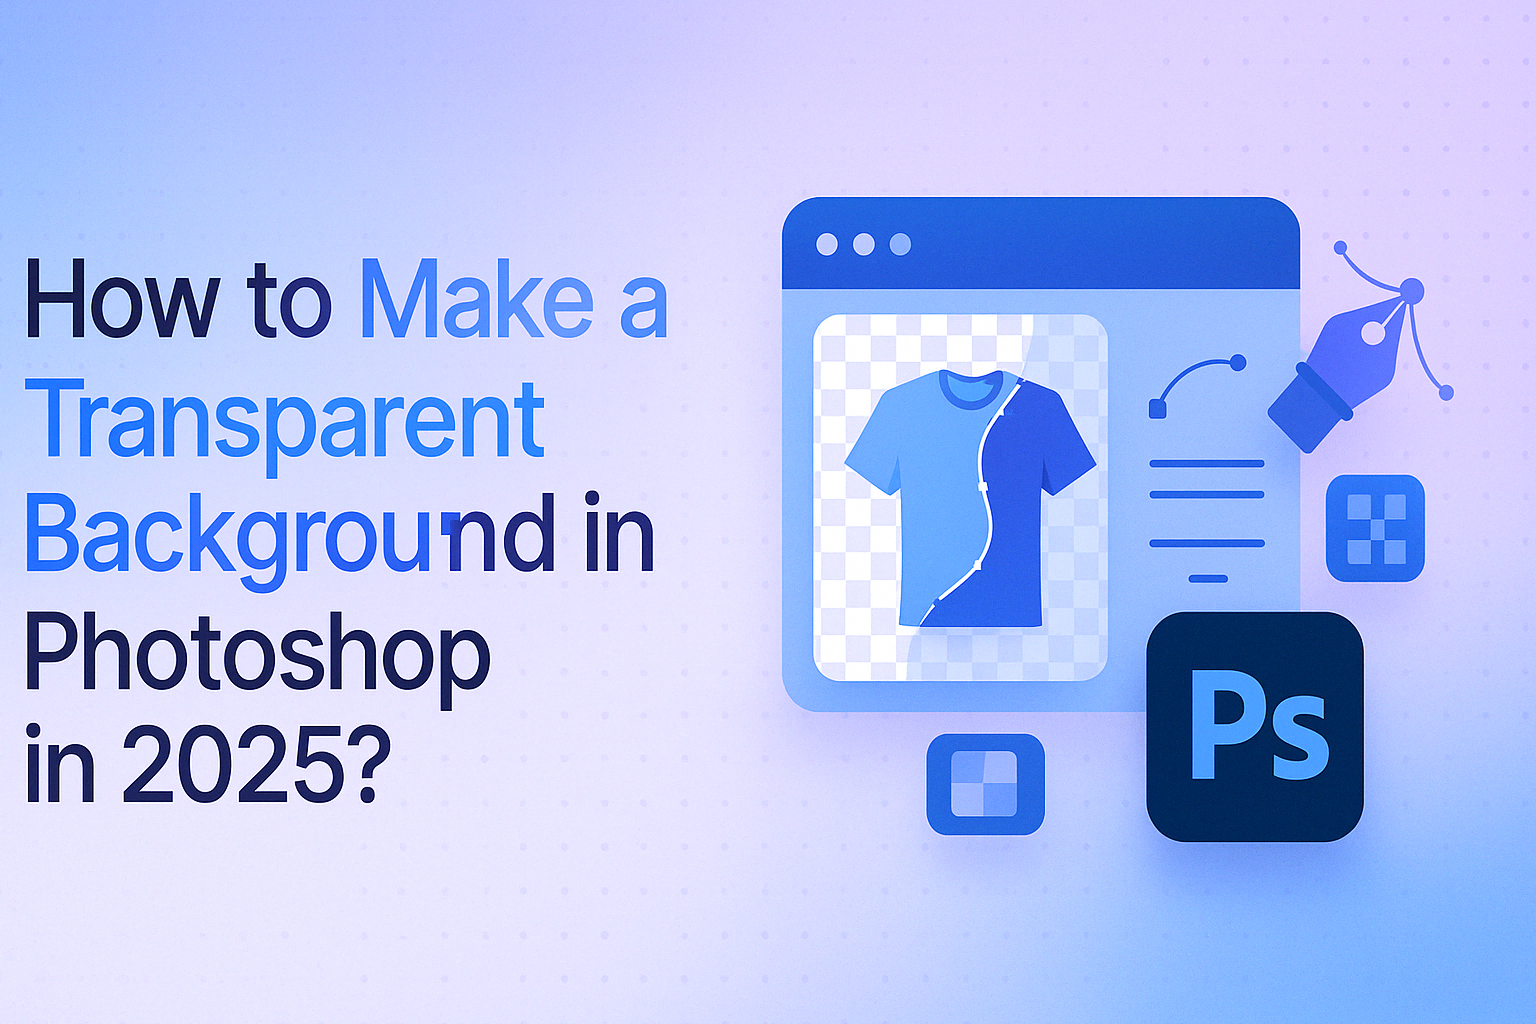
Transparent backgrounds are essential for clean, professional visuals in web design, product photography, branding, and social media. With Photoshop 2025, removing backgrounds is easier than ever using tools like the Remove Background feature, AI-assisted masking, or manual selection.
This guide covers:
- How to make backgrounds transparent in Photoshop 2025 and CS6
- How to export images in PNG-24 format for web use
- How to create transparent logos
- Free online tools and plugins for background removal
Whether you’re working with product images or branding assets, this step-by-step tutorial will help you create transparent backgrounds quickly and accurately. And contact us to get fast, professional background removal services and a free quote.
Table of Contents
Why Is a Transparent Background Important?
A transparent background removes visual clutter and focuses attention on the subject. It allows you to place the image on any background—whether it’s a website, brochure, social post, or product catalog—without distracting borders or blocks.
Here’s why it matters:
- Clean and professional appearance
- Essential for e-commerce product listings
- Flexible for reusing graphics across different platforms
- Important for branding consistency
- Used in print materials like t-shirts, packaging, and posters
- Ideal for logo placement on any surface or background color
Creating transparency makes your designs more versatile and visually appealing, whether for digital use or print.
How to Make a Transparent Background in Photoshop (2025)
Follow these steps to remove a background and make it transparent using Photoshop 2025:
Step 1: Open Your Image
Import the image into Photoshop. In the Layers panel, select the image layer (usually labeled “Background”).
Step 2: Use the ‘Remove Background’ Tool
Photoshop 2025 includes an AI-powered Remove Background button. If it’s not visible, go to Window > Contextual Task Bar to enable it. Once it appears, click Remove Background. Photoshop will auto-detect the subject and mask out the background.
Step 3: Refine the Mask
If any parts of the image are cut off or the background isn’t fully removed:
- Click on the mask thumbnail in the Layers panel.
- Use the Brush Tool or Add/Subtract from Mask options in the taskbar to manually adjust the mask.
Step 4: Save as PNG
To preserve transparency:
- Go to File > Export > Export As
- Choose PNG format
- Make sure Transparency is checked
Use Shift + Alt + Ctrl + W (Windows) or Shift + Option + Command + W (Mac) as a shortcut. Aim for a file size under 200 KB for web use, and size your image appropriately—600px wide if it will display at 400px, for example. And learn these latest photoshop shortcuts to learn faster.
How to Create a Transparent Logo in Photoshop?
Logos often need to be placed on different backgrounds, so making them transparent is key for flexibility across websites, packaging, and print.
Step 1: Open Your Logo File
Go to File > Open and select your logo file (JPG, AI, EPS, or PDF formats all work). If it’s a raster file like JPG, continue with background removal. If it’s a vector, transparency may already be built in.
Step 2: Remove the Background
If your logo has a solid background:
- Double-click the Background layer in the Layers panel to unlock it.
- Go to Select > Color Range, use the Eyedropper to select the background color (usually white), and click OK.
- Press Delete (Mac) or Backspace (Windows) to remove the selected background.
Step 3: Save as PNG
Go to File > Export > Export As, choose PNG, and check the Transparency box. Logos are typically small files, so no need to adjust dimensions unless required.
This will give you a clean logo file ready for use on any background.
How to Make a Transparent Background in Photoshop Online for Free?
If you don’t have access to the desktop version of Photoshop, you can still create transparent backgrounds using Adobe Photoshop’s online tools or supported plugins.
Method 1: Built-in Remove Background Tool (Online Photoshop)
- Open your image in the online version of Photoshop.
- Select the image layer.
- In the Properties panel, click Remove Background.
- Use the Refine Edge Brush to clean up the mask if needed.
- Export as a PNG to retain transparency.
Method 2: Use the Remove.bg Plugin
- Install the Remove.bg plugin from the Photoshop Plugin Marketplace.
- Open your image, then go to Plugins > Remove.bg > Remove Background.
- The plugin automatically deletes the background and gives you a clean cut-out.
- Use Photoshop tools for final edits and save as PNG.
Method 3: Quick Selection Tool
- Open your image and select the Quick Selection Tool.
- Brush over the subject to define the area to keep.
- Click Select and Mask, refine with the edge brush, then output to Layer Mask.
- Export as a transparent PNG.
Method 4: Background Eraser Tool
- Choose the Background Eraser Tool from the toolbar.
- Adjust brush settings and tolerance.
- Drag over the background to erase it while keeping fine edges intact.
Method 5: Repairit AI Photo Eraser
- Upload your image to the Repairit AI Photo Eraser.
- Use the brush to highlight the background.
- Click Start, let AI process the image, and download the transparent version.
Each method suits different levels of experience and image complexity. For quick, simple edits, the online tools or plugins are effective alternatives to full Photoshop.
How to Make a Transparent Background in Photoshop CS6?
Photoshop CS6 doesn’t include the one-click AI background removal tools found in newer versions, but you can still create a transparent background using traditional selection tools. This method works best for images with solid backgrounds and clear edges.
Step 1: Open Your Image
Go to File > Open, and select the image you want to edit.
Step 2: Unlock the Background Layer
In the Layers panel, right-click on the Background layer and choose Layer from Background. Rename it or leave it as is, then click OK.
Step 3: Select the Background
Choose the Magic Wand Tool from the toolbar. Click on the background area to select it. Use a tolerance setting of 32 and ensure Contiguous is checked for more accurate selection.
If needed, use the Quick Selection Tool to fine-tune your selection, especially around the edges.
Step 4: Delete the Background
Once the background is selected, press Delete (Mac) or Backspace (Windows). You should see a gray-and-white checkerboard pattern—this indicates transparency.
Step 5: Deselect the Selection
Press Ctrl + D (Windows) or Cmd + D (Mac) to remove the active selection.
Step 6: Save as PNG
Go to File > Save As, choose PNG from the file format dropdown, and click Save. This will preserve the transparency when used on websites, documents, or graphics.
This method provides a reliable way to remove backgrounds in older Photoshop versions where AI tools are unavailable.
How to Change the Background in Photoshop 2025?
After removing the background in Photoshop 2025 using the Remove Background feature, you can easily replace it with a new color, gradient, or image. This is useful for creating product mockups, marketing graphics, or branded content.
Step 1: Remove the Existing Background
First, follow the steps to remove the background using the Contextual Task Bar > Remove Background option. This will isolate your subject on a transparent background using a layer mask.
Step 2: Add a New Background Layer
- Go to the Layers panel and click the New Layer icon at the bottom.
- Drag this new layer below your masked subject layer.
Step 3: Fill the New Layer
You have a few background options:
- Solid Color: Use the Paint Bucket Tool or go to Edit > Fill, then choose a color.
- Gradient: Select the Gradient Tool, choose your gradient style, and drag across the layer.
- Image: Go to File > Place Embedded, choose an image, and position it behind the subject.
Step 4: Adjust and Export
You can reposition, scale, or blur the new background as needed. Once you’re happy with the result, export your file using File > Export > Export As, and save it in the desired format (JPEG, PNG, etc.).
This process gives you full control over how your final image looks—whether for web, print, or creative use.
Best Practices: Do’s and Don’ts for Transparent Backgrounds in Photoshop
To get clean, usable transparent images, it’s important to follow best practices—especially when preparing files for web, print, or branding. Below are the key do’s and don’ts to ensure quality results:
Do’s
- Use layer masks instead of permanently deleting backgrounds. This preserves flexibility for future edits.
- Work on a duplicate layer to protect the original image.
- Use zoom for detailed selection work, especially around edges.
- Save in PNG-24 format to support full transparency and avoid jagged edges.
- Optimize file size for fast web loading—aim for under 200 KB when possible.
- Use selection tools that fit the complexity of your image (e.g., Refine Edge Brush for hair, Magic Wand for solid backgrounds).
- Maintain consistent lighting and shadows when placing transparent images over new backgrounds.
- Label and organize exports clearly to avoid mixing original and optimized files.
Don’ts
- Don’t rush the selection process. Take time refining edges to avoid rough or unnatural cutouts.
- Don’t use the same method for every image. Match the tool to the complexity of the subject.
- Don’t overwrite the original image. Always keep a layered working file for future adjustments.
- Avoid over-refining edges. Excessive feathering or blur can reduce sharpness.
- Don’t ignore background shadows or reflections. These elements often need their own cleanup for a professional result.
Following these best practices will help you create clean, flexible images that look great across all platforms and uses.
FAQ
How do I mess with transparency in Photoshop?
To adjust or manage transparency settings in Photoshop, you can work in two ways. For overall transparency display settings, go to Edit > Preferences > Transparency & Gamut (Windows) or Photoshop > Preferences > Transparency & Gamut (Mac). This opens a dialog box where you can customize how transparent areas appear (such as the checkerboard pattern). For individual layers, use the Opacity slider in the Layers panel to make elements partially see-through. You can also use layer masks to selectively hide or reveal parts of an image, offering more advanced control over transparency.
How does a transparent background work?
A transparent background removes all color and pixel data from the designated area, leaving it fully see-through. When saved in a file format that supports transparency—such as PNG or SVG—those areas appear invisible when the image is placed on a website, document, or design. This is especially useful for logos, product photos, or icons where you don’t want a fixed background color interfering with the overall layout or branding.
How do I fill a shape with transparency in Photoshop?
To fill a shape with transparency, first create a shape using the Rectangle Tool, Ellipse Tool, or any shape tool. Once placed, go to the Layers panel and adjust the Opacity slider to reduce its visibility. You can also change the Fill value, which affects the shape’s interior without affecting effects like strokes or shadows. This technique is helpful when layering text over a semi-transparent shape for buttons, callouts, or social media graphics.
What are the benefits of a transparent background?
Transparent backgrounds offer flexibility and visual precision. They allow designers to reuse images across different projects without background conflicts. For instance, a logo with a transparent background can sit neatly over a website header, a t-shirt design, or a brochure without needing additional edits. Transparent backgrounds also support cleaner composition, better branding consistency, and reduced visual noise—especially in professional presentations and digital marketing.
How should background transparency be set correctly?
When saving an image with a transparent background, use the PNG-24 file format, which preserves full transparency without pixelation or color banding. In Photoshop, go to File > Export > Export As, select PNG, and ensure the Transparency checkbox is enabled. For web developers, transparency can also be controlled via CSS using RGBA color values, where the alpha channel defines opacity (e.g., rgba(0,0,0,0.5) for 50% transparent black). Always preview how transparency behaves against different backgrounds before finalizing your file.
What type of image has a transparent background?
Images saved as PNG (especially PNG-24) are best known for supporting transparent backgrounds while maintaining high-quality visuals. Vector file formats like SVG, AI, or EPS also support transparency and are ideal for logos, icons, and illustrations because they scale cleanly across any size. These formats retain transparency whether used on websites, in print, or in design software—making them ideal for reusable and brand-safe assets.